Introduction: Preparing to Remove Your Graphics Card
Removing a graphics card properly is a vital skill for PC enthusiasts and technicians. Before you start the removal process, you should understand the steps and precautions. This guide is here to help you learn how to take out a graphics card efficiently and safely. First, ensure you have the right tools on hand. You will need a screwdriver, an anti-static wristband, and a safe, clean space to work. Next, familiarize yourself with your PC’s case and how it opens. Knowing your system well will save you time. Also, make sure to prepare a secure, anti-static surface to place the graphics card once removed. Before touching any internal components, it’s crucial to ground yourself to prevent static electricity from damaging the hardware. Finally, set aside enough time and avoid rushing the process. Taking these steps will help to ensure a smooth and successful removal of your graphics card.
Required Tools and Safety Measures
When endeavoring to remove a graphics card from your PC, having the right tools is imperative. You’ll need a Phillips-head screwdriver to release the screws that secure the card to the case. An anti-static wrist strap is also critical to prevent static discharge which can damage your PC components. Ensure this strap is properly attached to a grounded surface.
Additionally, prepare an anti-static mat or bag to place your graphics card on once it’s removed. This will protect the delicate circuitry from static electricity. If these are not available, a clean, dry, and non-carpeted surface will suffice as a temporary alternative.
Safety is paramount, so make sure to work in a well-lit area with ample space. Keep liquids and other potential hazards away from your workspace. Lastly, constantly remind yourself to handle the graphics card by its edges and avoid touching any of the circuits or components directly.
Stay calm and focused, move with purpose, and use gentle force when necessary. By adhering to these guidelines, you’ll maintain safety for both yourself and the intricate electronics within your PC.

Step 1: Power Down and Unplug Your PC
Before you start the removal process for the graphics card, it’s essential to ensure the safety of both you and the system. Begin by shutting down your computer correctly through the operating system. Once the shutdown process is complete, disconnect all cables connected to the PC. Do not overlook any USB connections, display cables, or power cords. After the cables are unplugged, press the power button on the case for a few seconds. This discharges any residual electricity that may remain in the system. Remember, this step is crucial to prevent any electrical shocks or hardware damage when you proceed with take out a graphics card.
Step 2: Accessing the Graphics Card
Once your PC is safely powered down and unplugged, proceed to access the graphics card. First, remove the side panel of your PC case. This typically involves loosening or removing screws at the back of the case. Sometimes, cases have a latch system instead. Carefully slide or swing the panel out to reveal the internals of your computer.
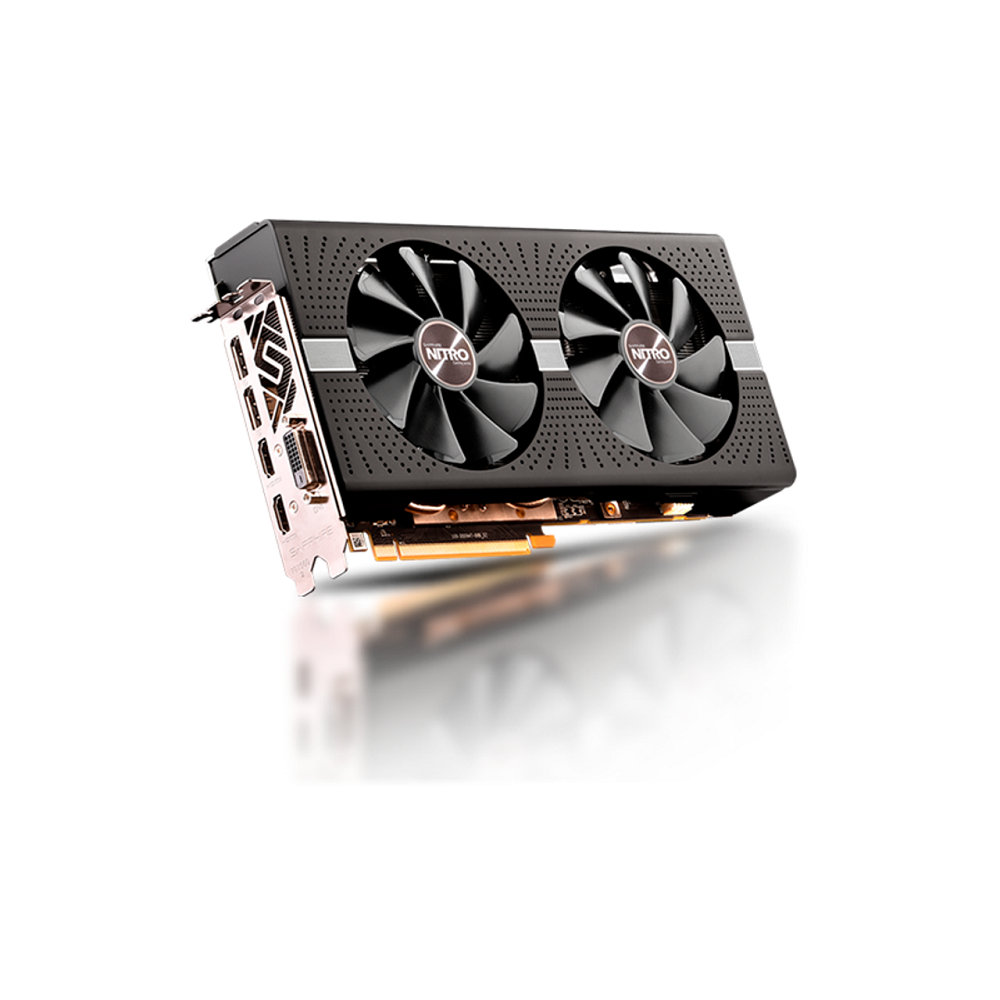
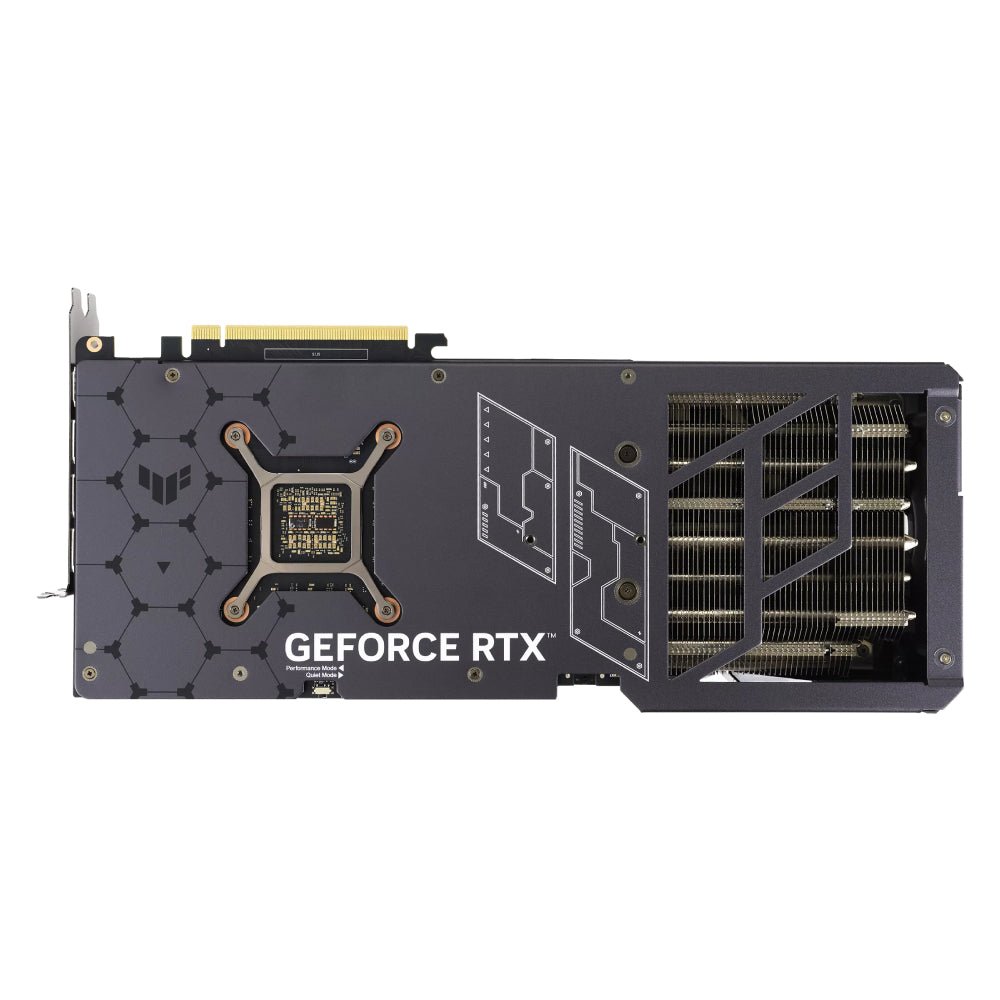
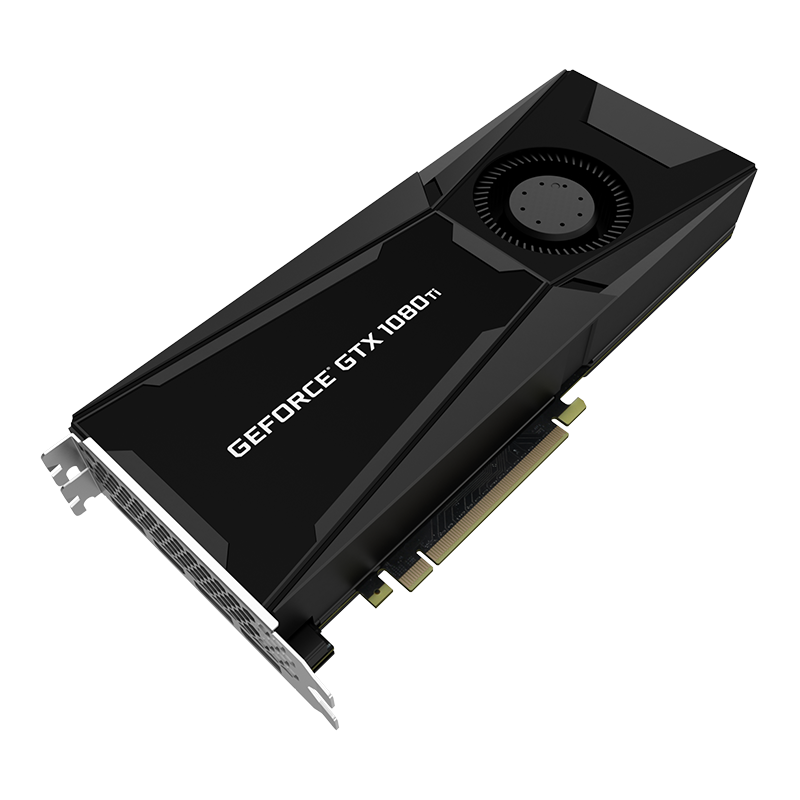
Now, locate the graphics card. It is generally mounted horizontally to the motherboard and secured to the back of the case with screws or a latch mechanism. Look for the card with output ports sticking out the back of the case; this is where your monitor cable connects. Identify any other cables, like power connectors, attached to the graphics card and gently unplug them.
Keep your movements steady and your grip secure. Touch the metal part of the case to ground yourself frequently, reducing the risk of static damage. By following these practices, you’re ensuring that you can reach the next step – unfastening the graphics card from the case – without causing harm to your PC components or yourself.
Step 3: Unfastening the Graphics Card From the Case
After accessing the internal part of your PC, the next step involves unfastening the graphics card from the case. This process requires careful handling to prevent any damage to the card or other PC components.
Locate the Screws
The graphics card is typically secured to the case with one or more screws. Identify these screws which are generally found at the back of the case, holding the metal bracket of the graphics card in place.
Unscrew Carefully
Use your Phillips-head screwdriver to gently remove the screws. Turn the screws counter-clockwise until they are completely loose. Keep these screws safe as you will need them when reinstalling the card or replacing it.
Check for Additional Fasteners
Some graphics cards also have a latch that helps to hold the card firmly to the case. If present, gently press down or slide the latch to release the card.
Gently Detach from Case
Once all screws and latches are dealt with, carefully slide the graphics card away from the case. Handle the card by its edges to avoid touching sensitive components.
Ensure you maintain a steady hand throughout the process and keep grounding yourself by touching the metal part of the case to avoid static damage. These careful steps will ensure a safe removal, setting the stage for the subsequent detachment from the motherboard.

Step 4: Detaching the Graphics Card From the Motherboard
After you have unfastened the graphics card from the case, the next step is to detach it from the motherboard. This is a delicate procedure, as you’ll be dealing with the motherboard’s PCIe slot which is sensitive to force and static.
Identify the Locking Mechanism
Look for a small lever or clip at the end of the PCIe slot where the graphics card is inserted. This acts as a locking mechanism.
Release the Lock
Gently press down on the lever or push the clip to the side to unlock the card from the slot. Some slots may have a button or a sliding mechanism instead.
Lift the Card Out
With the locking mechanism disengaged, hold the card by its edges and slowly lift it out of the slot. Make sure to lift straight up to avoid damaging the PCIe slot or the card’s pins.
Keep Static in Mind
Remember to ground yourself periodically while handling the graphics card to prevent static buildup. Don’t touch the contacts or circuitry.
Once the graphics card is free from the motherboard, place it on the anti-static surface you prepared earlier. Ensure that you don’t rush this process; it’s important to be patient and cautious to avoid bending the card or causing any damage. With the graphics card safely removed, you’re ready to handle and store the hardware or proceed with an upgrade.
Step 5: Handling and Storing the Graphics Card Post-Removal
With your graphics card successfully detached, it’s time to handle and store it properly. Here’s how:
Handle with Care
Always hold the card by its edges. This avoids damage to the circuitry.
Use Anti-Static Protection
Place the card directly on an anti-static surface. If you have one, an anti-static bag is ideal.
Choose a Safe Location
Pick a dry, cool spot away from direct sunlight to store the card. This shields it from environmental damage.
Avoid Stacking
Don’t put objects on top of the graphics card. Pressure can bend the card or harm the components.
Keep it Secure
If possible, store in the original box or a case designed for electronics. This provides the best protection.
Label the Storage
Mark the storage container with details of the card. This helps avoid confusion if you have multiple cards.
Remember, the way you handle and store your graphics card will affect its longevity. Take the time to follow these steps to ensure that when you learn graphics card, you’re also ensuring its safekeeping for future use.

Conclusion: Reassembling the PC and Testing
After removing the graphics card, you may want to replace or upgrade it. Before that, it’s essential to properly reassemble your PC. Here’s a brief guide to help ensure a smooth reassembly and testing phase:
Reinstall the New Card or Old One
If you are upgrading, insert the new graphics cards into the PCIe slot. Push it in with gentle, firm pressure until the locking clip snaps into place.
Secure the Card to the Case
Replace the screws or latch the card to the case. Make sure it’s snug, but don’t over-tighten.
Reconnect the Cables
Don’t forget to plug in the power connectors and any other relevant cables. Double-check connections for a secure fit.
Attach the Side Panel
Place the panel back on your PC case. Tighten the screws or secure the latch to enclose your system.
Power Up Your PC
Plug in the power cord and all peripherals. Press the power button to turn on your computer.
Check the Display
Look at your monitor to ensure it displays correctly. If the screen is blank or unusual, check your connections again.
Install Necessary Drivers
Upon successful boot, install the drivers for the new graphics cards. Follow the instructions provided by the card’s manufacturer.
Test the Graphics Card
Run a graphics benchmark test, or open a graphically intensive program to confirm everything is working as expected.
Reassembly and testing aren’t just the last steps in learning how to take out a graphics card; they are also when you validate that your hard work has paid off. With careful reinstallation and thorough checks, your PC should be ready for improved performance. Keep this guide handy for any future graphics cards removals or upgrades, and always remember to handle components with care for the best results.
