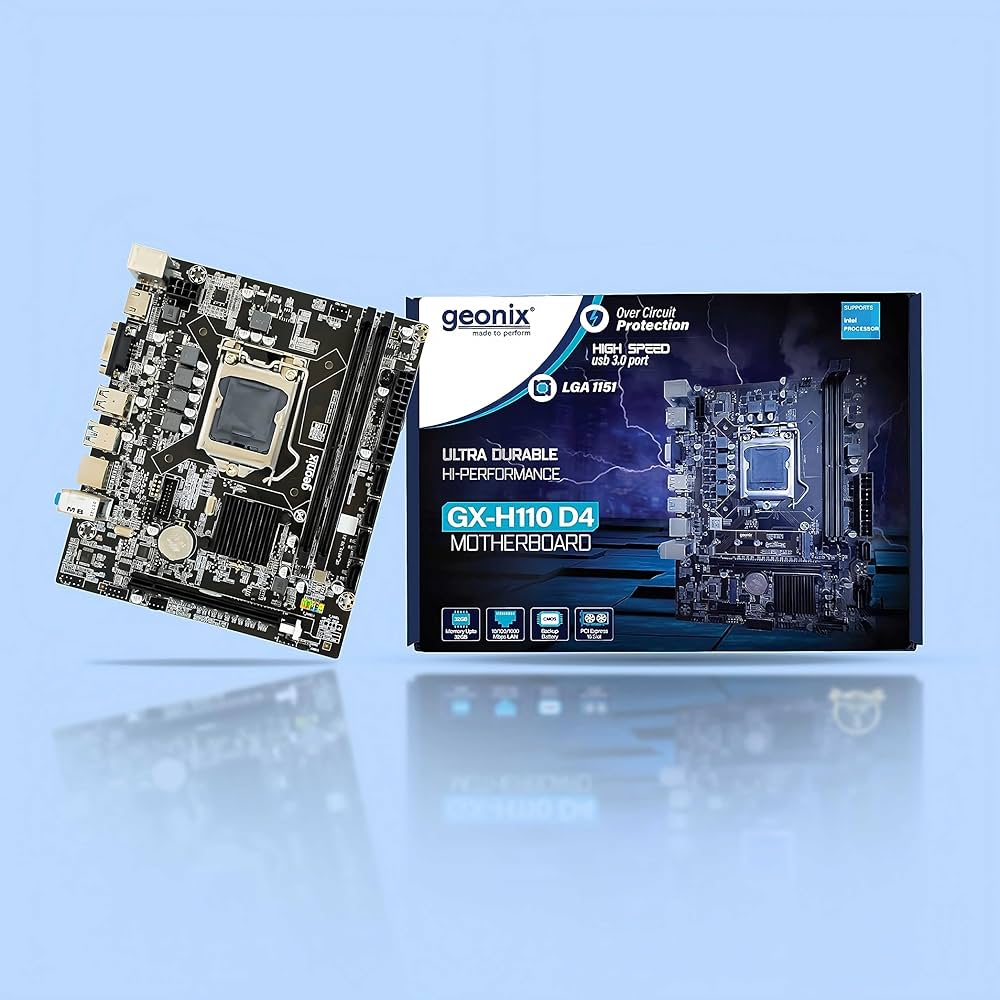
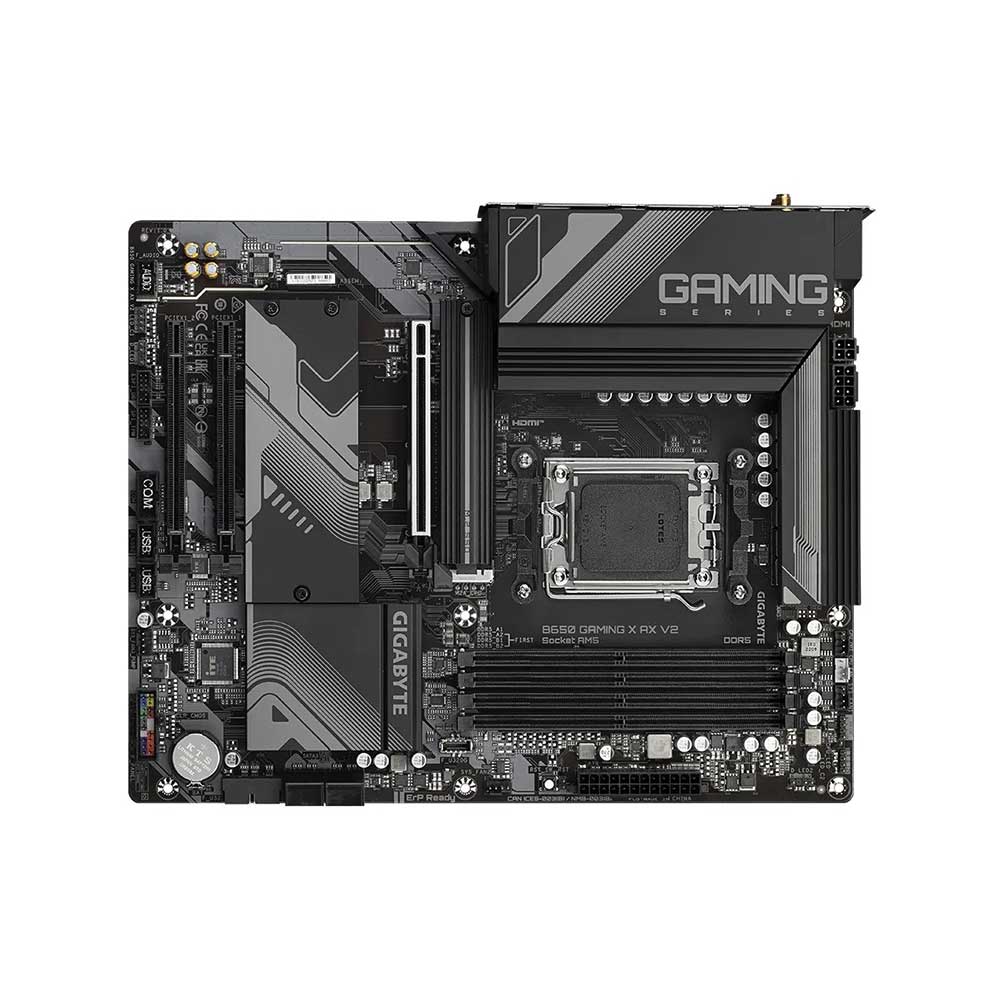
When building or maintaining a PC, encountering issues with the motherboard can halt the entire system’s operation. As the central nervous system of your computer, it’s critical to quickly identify and remedy any motherboard problems to ensure smooth performance. This guide focuses on common motherboard issues, providing simple and actionable solutions to help both novice and experienced users efficiently troubleshoot and resolve problems that may arise.
Motherboard Selection and Factors to Consider
A. Compatibility with CPU and other components
One of the key factors to consider when selecting a motherboard is its compatibility with the central processing unit (CPU) and other components in the system. The motherboard should have a socket that supports the specific CPU model you plan to use. This ensures proper communication and optimal performance between the CPU and the motherboard.
Additionally, it is important to check the compatibility of other components such as memory modules (RAM), storage drives, and graphics cards. The motherboard should have the necessary connectors and slots to accommodate these components. For example, if you plan to use multiple graphics cards for gaming or graphic design purposes, the motherboard should have enough PCI Express (PCIe) slots to support them.
B. Expansion potential and available slots
Another factor to consider is the expansion potential of the motherboard. The number and type of expansion slots on the motherboard determine how many additional components you can add in the future. Common expansion slots include PCIe slots for graphics cards and sound cards, RAM slots for memory modules, and M.2 slots for high-speed solid-state drives (SSDs).
Before selecting a motherboard, consider your future needs for upgrades or additional components. If you anticipate needing more storage or better graphics capabilities in the future, choose a motherboard with sufficient expansion slots to accommodate these upgrades.
C. Form factor and size considerations
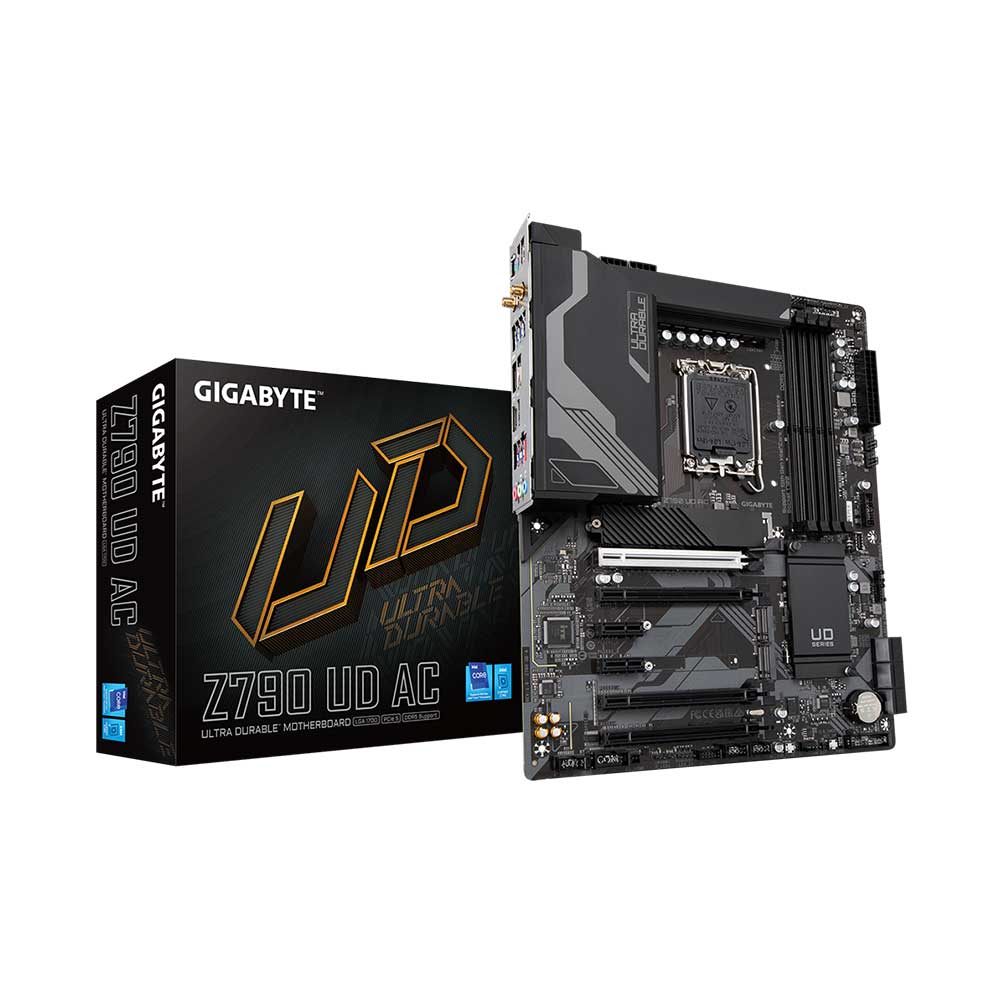
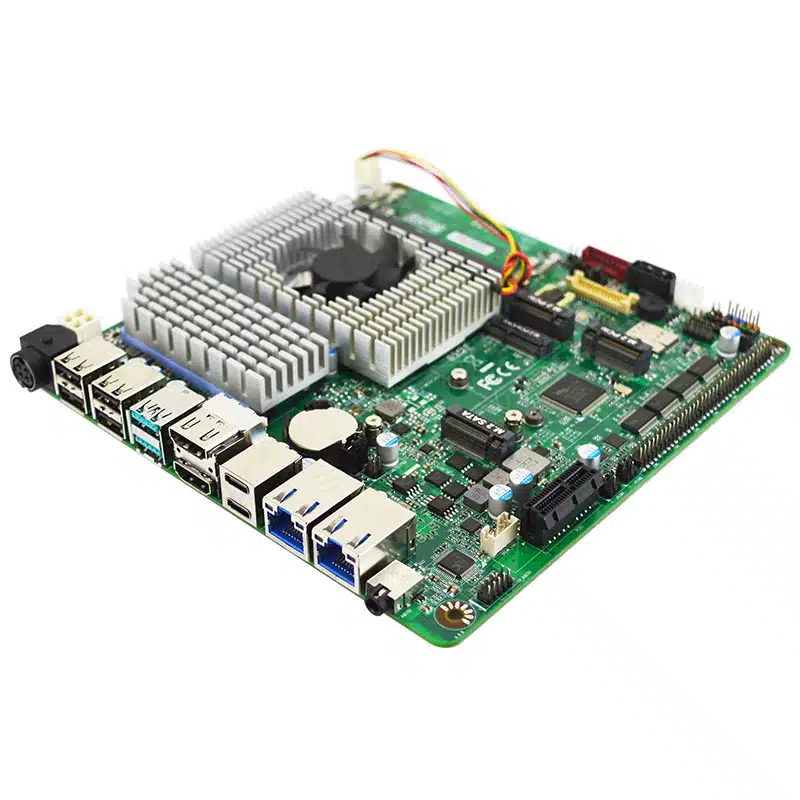
Motherboards come in various form factors, which determine their size and shape. Common form factors include ATX, Micro-ATX, and Mini-ITX. The form factor affects the physical size of the motherboard and determines its compatibility with different computer cases.
When selecting a motherboard, consider the form factor that is best suited for your intended use and the available space in your computer case. ATX motherboards offer greater expansion potential but require larger cases, while Mini-ITX motherboards are compact and suitable for smaller builds.
D. Connectivity options and ports
Consider the connectivity options and ports on the motherboard. These include USB ports, audio jacks, Ethernet ports, and video output connectors. The number, type, and placement of these ports can vary across different motherboards.
Evaluate your connectivity needs and ensure that the motherboard provides enough ports to meet them. For example, if you plan to connect multiple peripherals like printers, external hard drives, and gaming controllers, make sure the motherboard has an adequate number of USB ports.
Getting to the Root of Startup Issues
No Power to the System
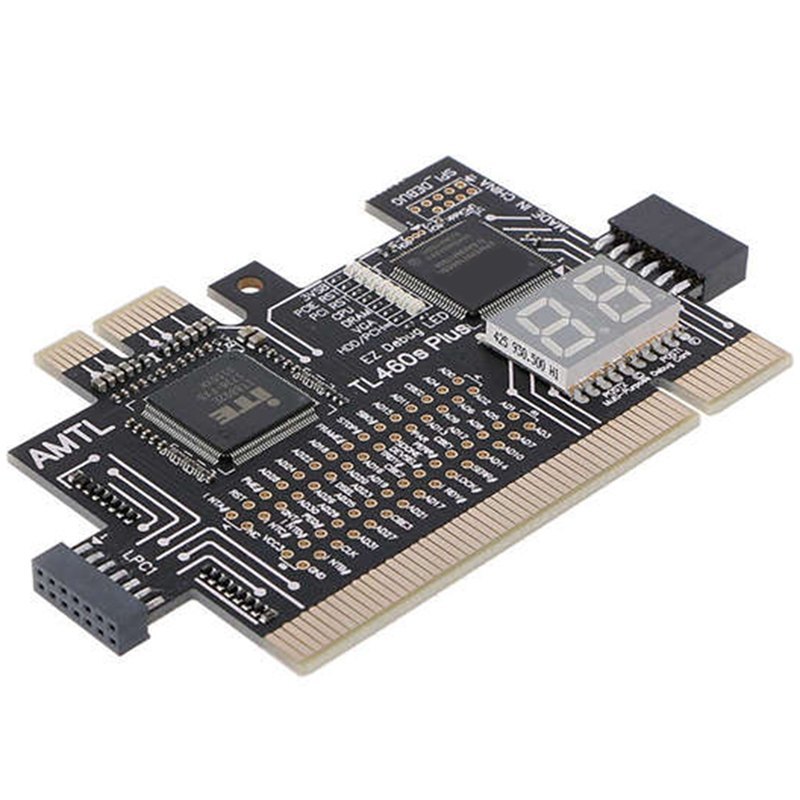
If you press the power button and the system doesn’t respond, it could point to a power supply or motherboard issue. First, confirm that the power supply is switched on and working by testing it with a multimeter or a dedicated power supply tester. If the power supply proves functional, inspect the motherboard for any visible damage, ensure all power connectors are securely in place, and check that the front panel connectors are correctly attached to the appropriate motherboard pins as per the manual.
System Powers On Then Off
When a system briefly powers up and then shuts down, it may indicate a short circuit or overheating. Look for signs of motherboard damage like burn marks. Verify that the motherboard is properly installed with standoffs to prevent contact with the case and inspect for misplaced screws that could cause shorts. Also, ensure the CPU cooler is correctly attached; improper installation can lead to immediate system shutdown to prevent CPU damage.
Resolving POST and Display Issues
Failure to Pass the Power-On Self-Test (POST)
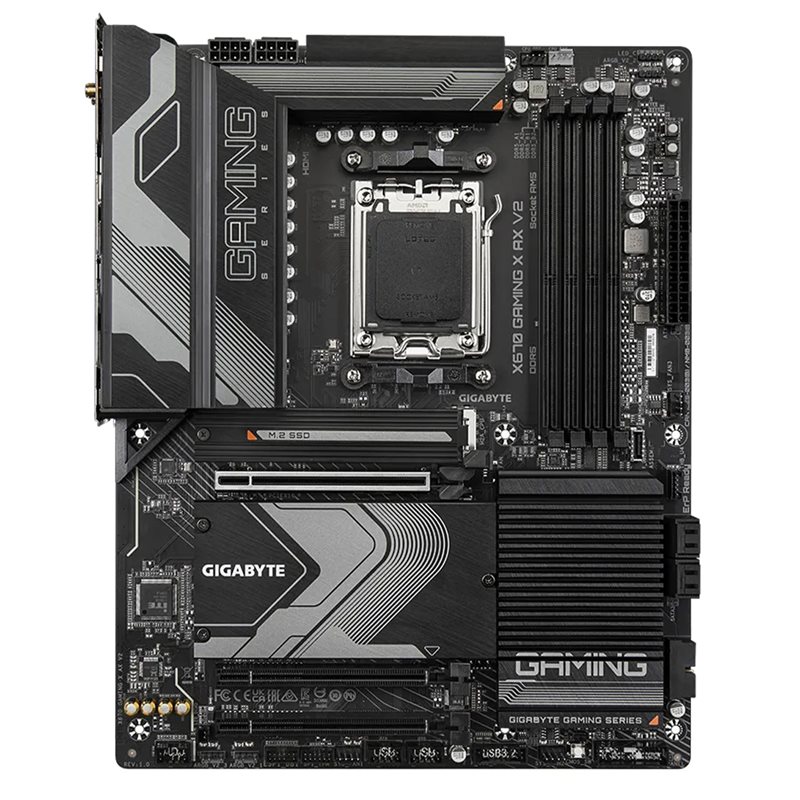
If your system powers on with no display and possibly beeps or a diagnostic LED illuminated, it’s failing to POST, a situation often related to the motherboard or connected components. Strip down to the essential hardware needed to boot and reset the CMOS, clearing any BIOS settings that may be causing issues. Check for bent CPU pins, improperly seated RAM, or expansion cards, and ensure all components are compatible and not defective.
No Signal to Monitor
A system that turns on but fails to send a signal to the monitor can be distressing. After ensuring the monitor and cables are functioning, proceed to reseat or replace the graphics card, if used, or test the onboard graphics port for potential issues. It’s also advised to try different memory slots or known good RAM to rule out memory issues. If the problem persists, consider updating the motherboard’s BIOS, if possible, when no display issues have been recognized.
Cooling Down Your System
Identifying and Addressing Overheating Components
If your motherboard or components overheat, your system might shut down unexpectedly or perform poorly. Identify hotspots by checking temperature readings in the BIOS or with monitoring software. Confirm that all fans and heatsinks are working correctly, are free of dust, and have adequate thermal paste applied. Improving case airflow by rearranging cables and adding additional fans can also help in reducing temperatures.
VRM and Chipset Cooling Concerns
Motherboards with robust Voltage Regulator Modules (VRMs) and chipsets sometimes require additional cooling, especially when overclocking. If overheating persists, consider installing aftermarket heatsinks or fans specifically designed for VRMs and chipsets. Review your motherboard’s manual for any recommendations regarding cooling solutions and configurations that optimize thermal management.
Peripheral and Component Challenges
USB and Oter Ports Not Working
When USB ports or other connectors fail to recognize devices, it could result from software or hardware problems. Try different ports, update drivers and the motherboard’s BIOS, or diagnose potential faults within the operating system’s device manager. For persistent issues, inspect the physical ports for damage or obstructions, and recheck internal connections if USB headers are used.
Audio, Networking, or Other Integrated Features Malfunctioning
Onboard audio, ethernet, or Wi-Fi issues can stem from several sources. Verify the enablement of the motherboard’s audio or network adapters in the BIOS, confirm the integrity of drivers, and check for any hardware conflicts within your system settings. If integrated components fail to operate after motherboard troubleshooting software and settings, consult the motherboard’s warranty or consider discrete add-in cards as alternatives to integrated solutions.
BIOS and Firmware Issues
Updating and Recovering BIOS
Occasionally, the root cause of a motherboard issue can stem from outdated or corrupt BIOS firmware. If possible, update the BIOS to the latest version provided by the motherboard manufacturer. This can resolve compatibility issues with newer hardware and improve system stability. In cases where the BIOS is corrupt, many modern motherboards feature a dual-BIOS system or a BIOS flashback option that lets you recover or roll back to a previous version without the need for full system access.
Resolving Boot Loop Problems
If your system is stuck in a boot loop, it starts up and restarts again before reaching the operating system. This issue may be attributed to BIOS settings. Resetting the CMOS can often resolve this issue. You can reset the CMOS by removing the battery. Alternatively, using a jumper on the motherboard for a few minutes works too. This process will revert the system to default settings. Always ensure your hardware is not overclocked beyond its capabilities, as this can often trigger boot loops.
Electrical and Hardware Failures
Capacitors and Physical Damage
Motherboard components like capacitors can fail due to age, heat, or power surges, leading to instability or a non-functioning board. Visually inspect capacitors for swelling or leakage and check for other signs of damage, such as scorch marks. If you find damaged components, it’s often more cost-effective to replace the motherboard rather than attempting repairs, especially if the board is out of warranty.
Handling Dead Motherboards
In cases where the motherboard does not power on or show signs of life, and you have tested and verified all other components as working elsewhere, you may conclude that the motherboard is dead. Check for warranty coverage for a potential return or replacement. If the board is out of warranty or user-inflicted damage occurs, such as from liquid spills or electrical shocks, purchasing a new motherboard will be the next course of action.
Diagnosing motherboard issues requires a methodical approach to pinpoint the problem and apply the appropriate fixes. By understanding these common issues, you can effectively troubleshoot problems and maintain your PC’s performance. Always refer to your motherboard’s manual for specific diagnostic procedures and keep firmware and drivers updated as preventive measures. If issues persist or if you’re uncomfortable performing certain troubleshooting steps, seek professional assistance to avoid causing further damage to your motherboard or connected components.

