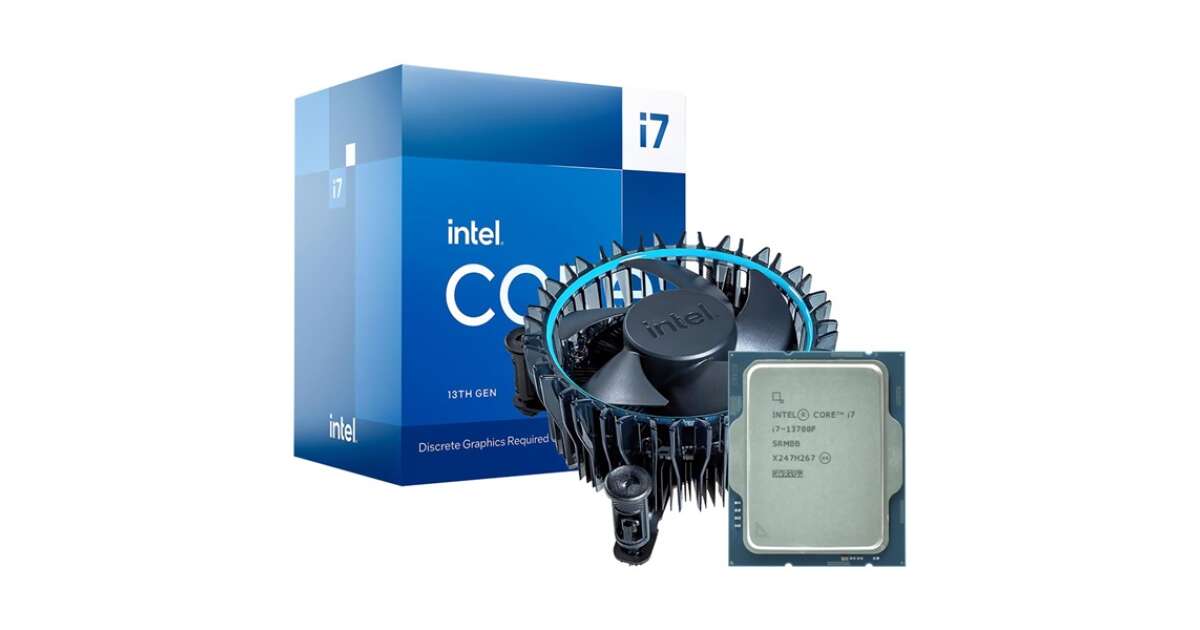
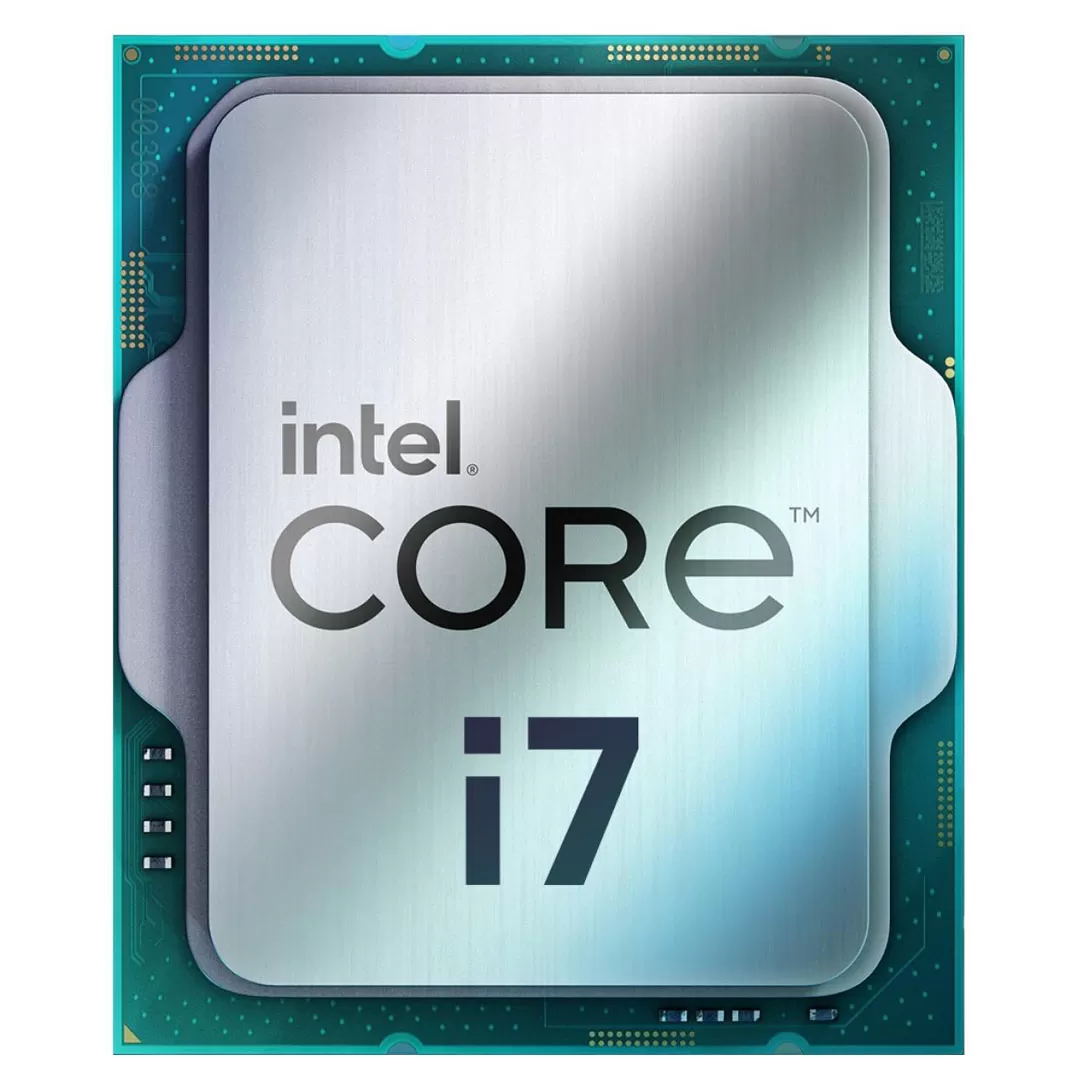
Crafting a custom PC that can handle demanding tasks, whether for gaming, creative work, or everyday performance, starts with selecting a high-quality central processing unit (CPU). Intel’s Core i7-13700F stands out as a formidable heart for your dream build. This processor offers excellent multitasking capabilities, high-end performance, and energy efficiency. This article will guide you through the necessary steps to make your PC build with the Core i7-13700F a reality, ensuring you have a future-proof system that can tackle anything you throw at it.
Selecting the Right Components
When building a PC around the Intel Core i7-13700F, choosing compatible and complementary components is vital for optimizing performance.
Motherboard Compatibility
Settle for a motherboard that supports the LGA 1700 socket. It’s imperative to pick a board with robust power delivery to harness the i7-13700F’s capabilities fully. Quality VRMs (Voltage Regulator Modules) will help sustain performance during load. Also, ensure ample connectivity for your peripherals and future expansion needs.
Memory and Storage
Pair your i7-13700F with fast DDR4 or DDR5 RAM, depending on your chosen motherboard. Aim for at least 16GB to keep up with modern multitasking demands. For storage, consider a combination of NVMe SSDs for your operating system and most-used applications, and large-capacity HDDs for bulk storage requirements.
Cooling and Power Supply
A high-performing CPU like the Core i7-13700F requires adequate cooling and a steady power supply to ensure stability under load.
Efficient Cooling Solutions
To maintain optimal temperatures, invest in a quality air cooler or an AIO (All-In-One) liquid cooling system that supports the LGA 1700 socket specifications. Good thermal management will enhance the CPU’s longevity and enable it to maintain peak performance levels during intensive tasks.
Sufficient Power Supply
Select a power supply unit (PSU) that provides enough wattage with a bit of headroom. A unit with an 80+ Gold rating or higher is a good benchmark, ensuring efficiency and reliability. This will also accommodate power spikes and future upgrades without overtaxing your system.
Assembling the Build
Assembling your PC requires focus and care to ensure all parts work harmoniously with the Intel Core i7-13700F.
Mounting the CPU
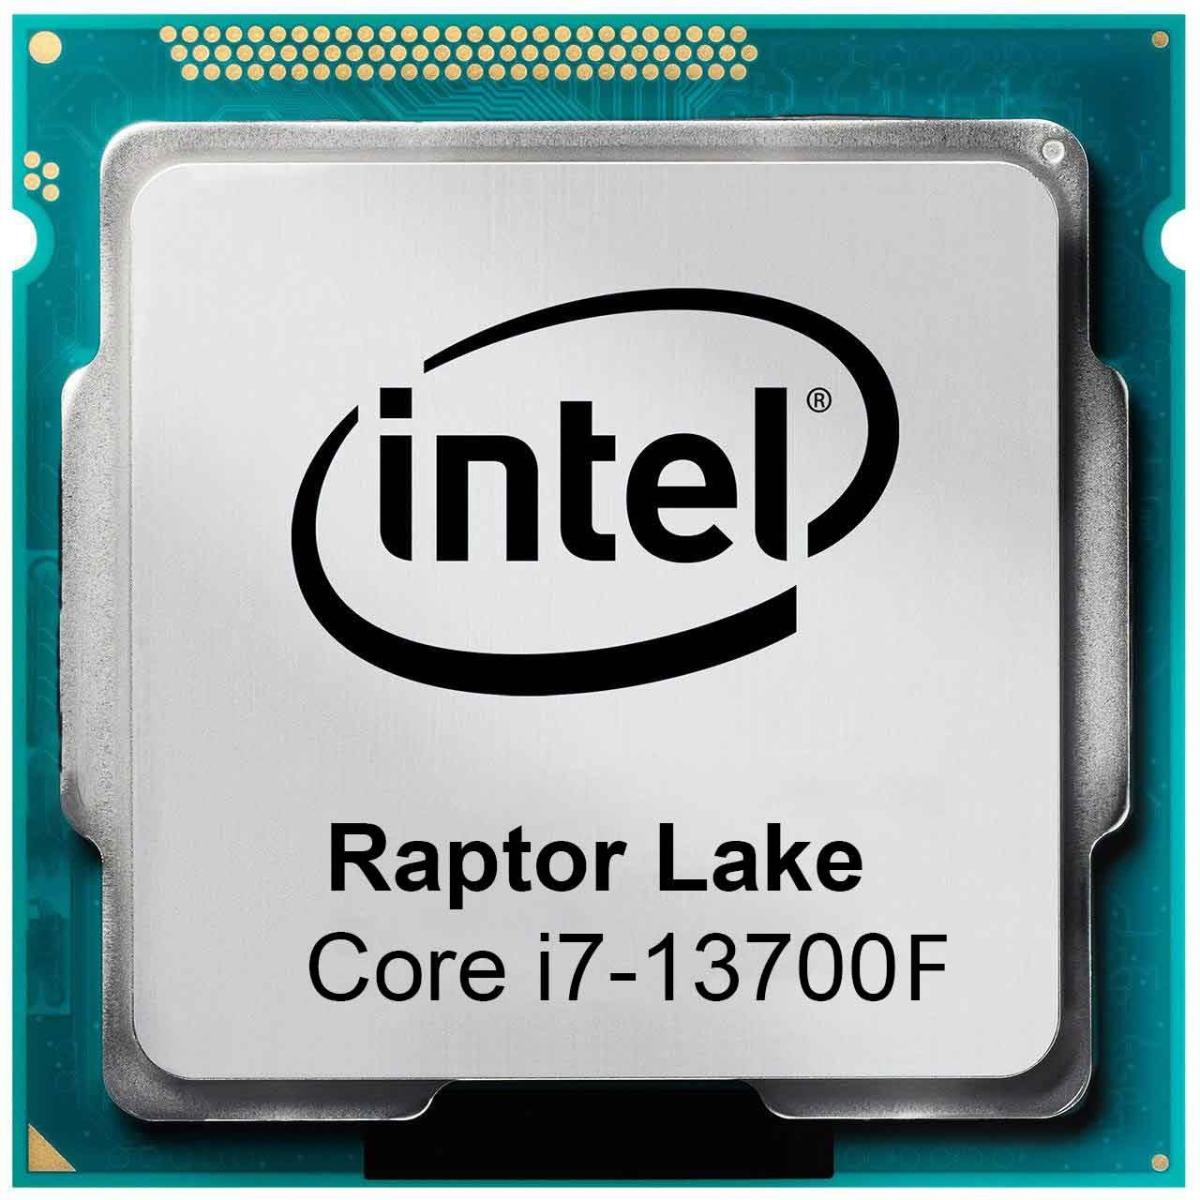
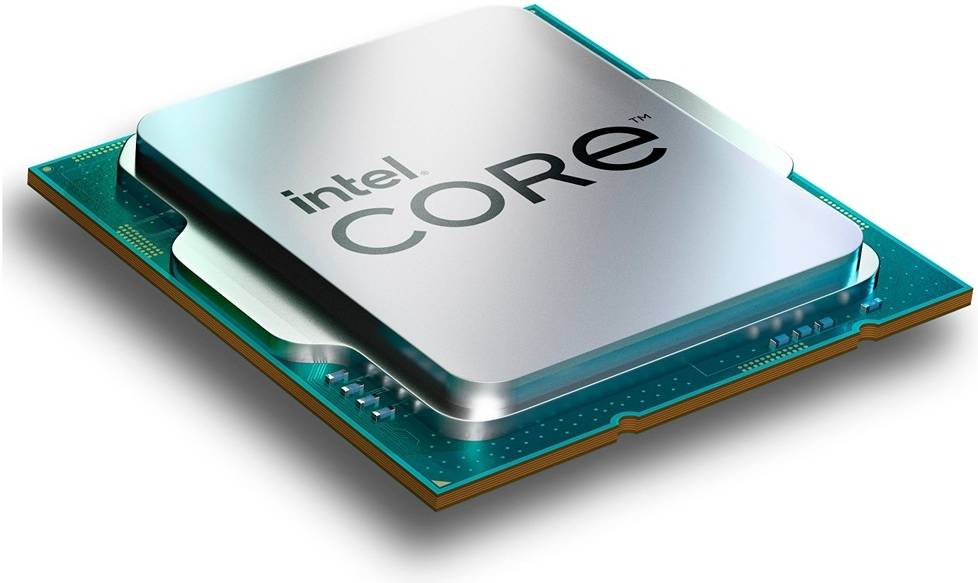
Open the CPU socket on your motherboard by lifting the retention arm. Align the i7-13700F, noting the notches and marked corner, and place it gently into the socket. Lower the retention arm to lock the CPU in place. This delicate part of the build sets the stage for everything else, so take your time.
Installing Other Hardware
Once the CPU is seated, apply thermal paste if your cooler doesn’t come with a pre-applied layer. Secure your cooling solution on top of the CPU as per the manufacturer’s instructions. Next, install the RAM sticks into their designated slots, ensuring they click into place. Following this, mount your storage drives, firmly connecting them with the provided cables to the motherboard and PSU.
Software and Settings
With the hardware assembled, the final steps involve software installation and system configuration to get the most out of your Intel Core i7-13700F.
Operating System Installation
Install your preferred operating system via USB or optical media. Boot into the BIOS by pressing the appropriate key during startup, ensuring that the boot order is set to recognize your installation media. Follow the on-screen prompts to install the OS on your chosen NVMe SSD or HDD.
BIOS Update and Drivers
Check for a BIOS update that might enhance your motherboard’s compatibility and performance with the i7-13700F. Update as necessary for a stable system. Afterward, install all relevant drivers, starting with your chipset and following with GPU, audio, and network drivers to ensure your hardware is recognized and functions optimally.
Optimizing Performance
Once your dream PC is operational, there are additional steps you can take to ensure you’re getting the most out of your Intel Core i7-13700F.
Fine-Tuning Your System Settings
Navigate to your computer’s BIOS settings to fine-tune performance parameters such as the RAM frequency and timings for better system responsiveness. Some motherboards offer an easy ‘XMP’ (Extreme Memory Profile) option that automatically adjusts these settings for optimized memory performance. Be mindful not to overclock your components without proper cooling solutions in place, as this can lead to increased heat output and potentially shorten hardware life.
Software Tools and Benchmarks
Utilize software tools to monitor system performance and stability. Applications like CPU-Z, HWMonitor, or Intel’s Extreme Tuning Utility (XTU) can provide valuable insights into your CPU’s operation including temperature, voltage, and frequency scaling. Running benchmarks can assess system performance under load, ensuring that your PC is running as expected. Ultimately, these tools help you make informed decisions when it comes to system tuning and maintenance.
Troubleshooting: Solving Potential Issues
Even with careful assembly and setup, you may encounter some issues. Troubleshooting is an essential skill for diagnosing and resolving unexpected problems.
Common Post-Build Problems
A typical issue faced after a new build can be the system failing to post. This can result from a variety of reasons such as improperly seated components, or power supply faults. When faced with such issues, recheck all connections, reseat the RAM and graphics card, and ensure the CPU cooler is properly mounted. If the issue persists, consult your motherboard’s manual for diagnostic LEDs or codes that can help pinpoint the problem.
Stability Tests and Checks
Once the initial problems are resolved, and the system posts, conduct thorough stability tests. Programs like Prime95, AIDA64, or Intel’s Processor Diagnostic Tool can stress-test your CPU to ensure it remains stable under heavy loads. Any crashes or errors might indicate a need for system adjustments or additional troubleshooting. Always monitor temperatures during stress tests to avoid overheating.
In conclusion, building your dream PC with an Intel Core i7-13700F requires thoughtful selection of compatible components, careful assembly of hardware, and meticulous software setup. By paying attention to the requirement of each part and ensuring they synergize effectively, your final build will provide you with a powerful, efficient, and stable computing experience that will last for years. Whether you’re a hardcore gamer, a creative professional, or someone who simply enjoys a fast and responsive computer, the i7-13700F serves as a bedrock upon which you can realize your PC aspirations. With the right approach, your custom PC will tackle current and future computing tasks with ease, keeping you at the cutting edge of technology.
