Removing a graphics card from a motherboard can be a necessary step when upgrading hardware, cleaning your PC, or troubleshooting issues. While it is a fairly straightforward process, it requires careful handling to ensure you do not damage any components. How to remove graphics card from motherboard? In this guide, we will walk you through the steps of safely removing a graphics card from a motherboard, along with troubleshooting tips to consider if you encounter any issues.
Preparation Steps
Gather Necessary Tools
How to remove graphics card from motherboard? Before starting the removal process, make sure you have the right tools on hand. The primary tools you will need are a Phillips-head screwdriver and an anti-static wrist strap. The screwdriver will help you loosen any screws that secure the graphics card to the case. An anti-static wrist strap is essential because it protects sensitive components from static electricity damage. You can find these tools at most hardware stores or online.
Additionally, it may help to have a flashlight or a bright light source. This will enable you to see clearly inside your computer case, especially in cramped spaces. Having these tools ready will help ensure a smooth and efficient removal process.
Power Down and Disconnect
Once you have gathered your tools, the next step is to power down your computer. It’s essential to shut down the system completely and unplug it from the wall to prevent any electrical hazards. After turning off the power, disconnect all cables and peripherals. This includes the monitor, keyboard, mouse, and any other devices connected to the system.
After you have disconnected the power and peripherals, open the computer case. Most cases have side panels that can be removed by loosening screws or sliding off. Ensure you have plenty of space to work and feel comfortable while you are inside the case. Taking these steps will help you avoid accidents and make the process easier.

Accessing the Graphics Card
Locate the Graphics Card
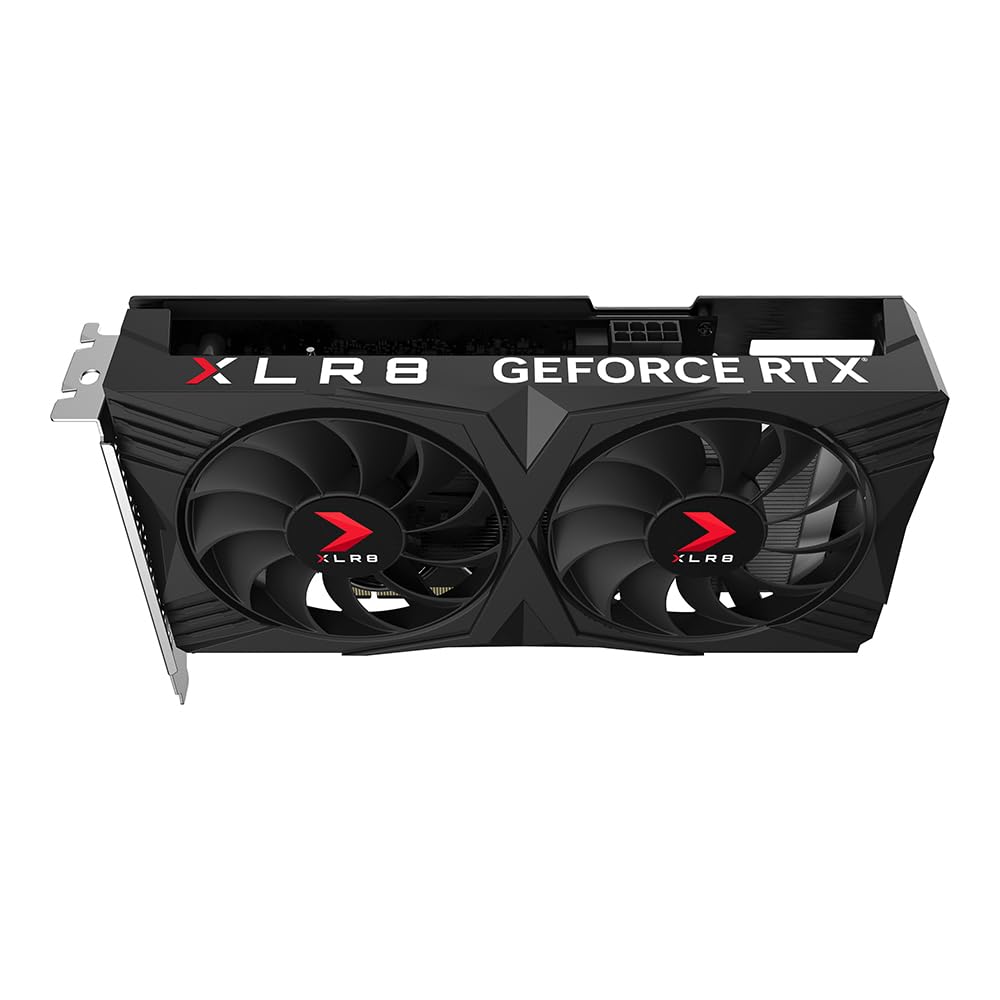
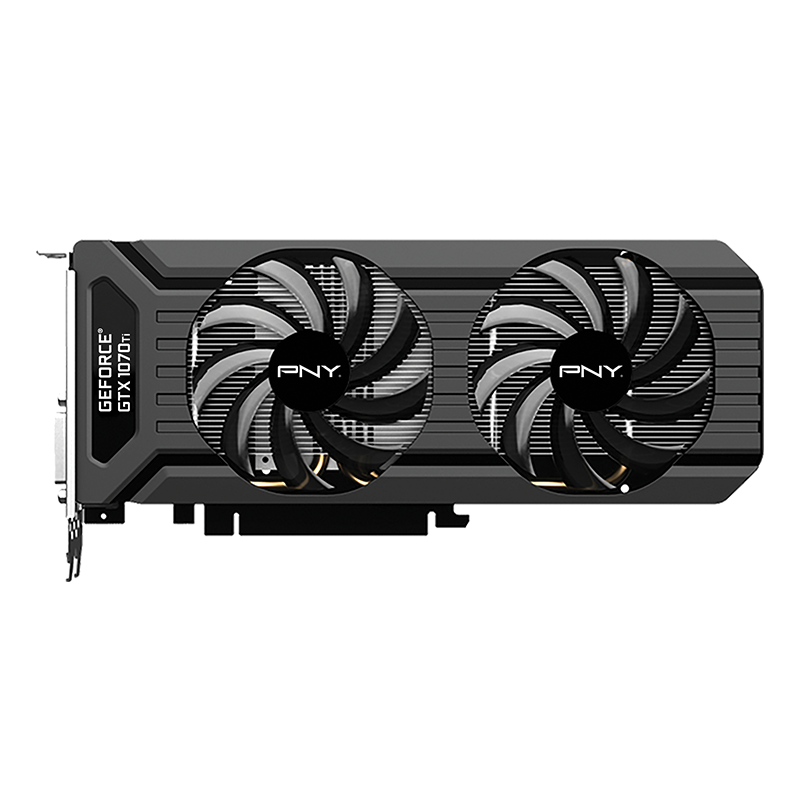
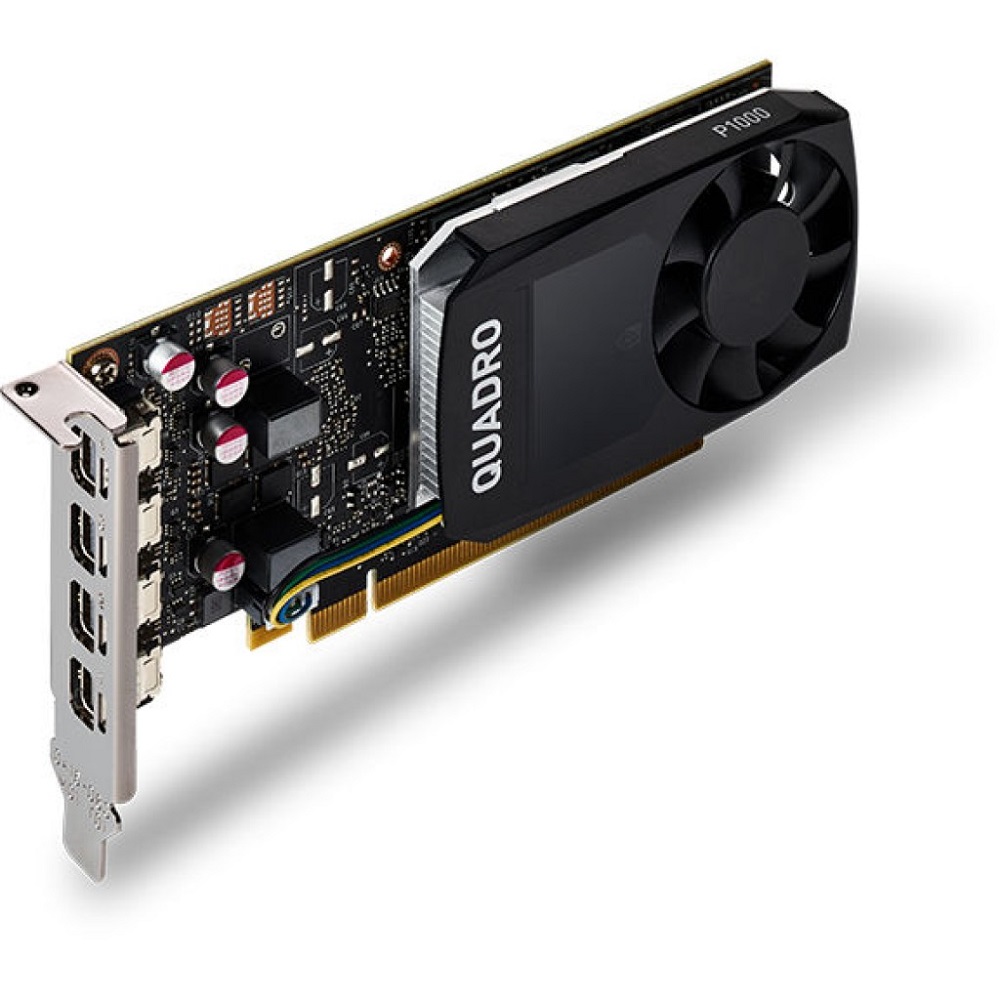
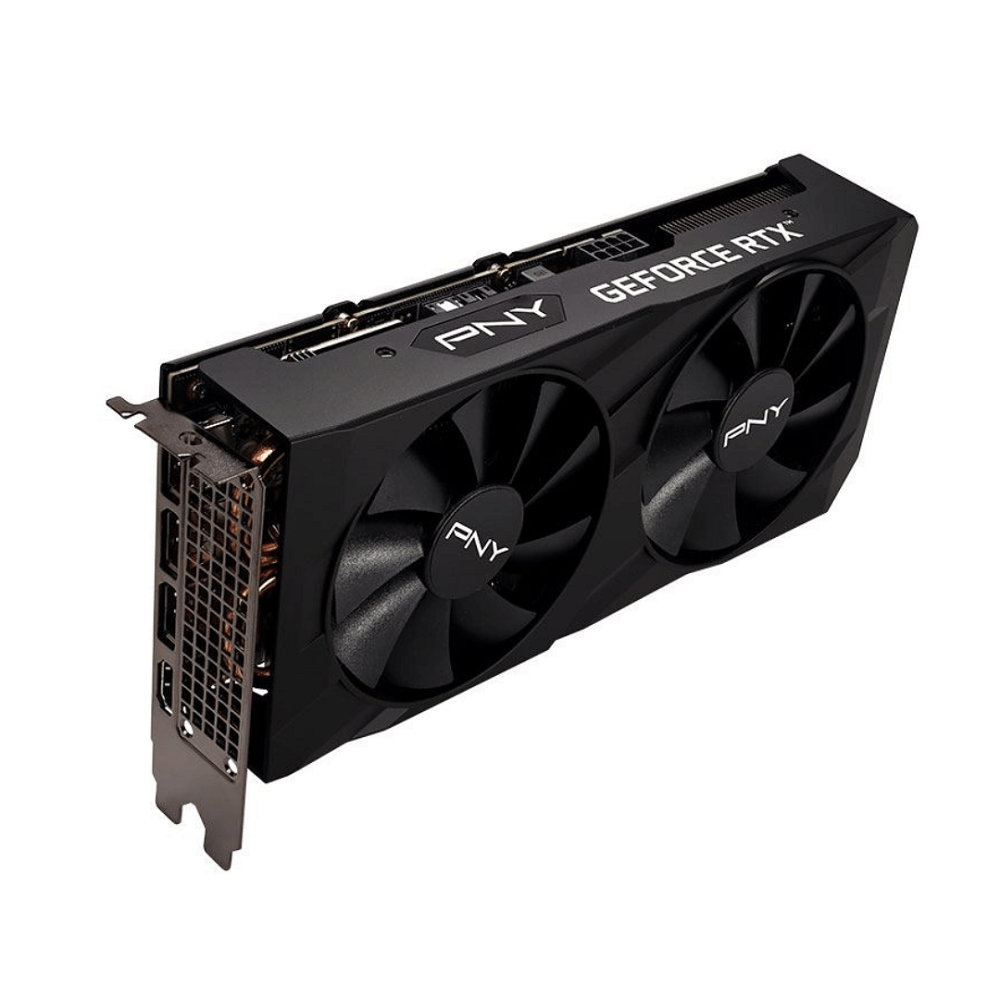
Once your computer case is open, locate the graphics card on the motherboard. The graphics card is usually positioned in the PCIe slot and is often the largest component in the case. It is typically connected to the rear I/O panel and secured with screws. Take a moment to identify the slot and the connection points, as this knowledge will be essential during removal.
It’s important to note that graphics cards are often situated close to other components, such as RAM or cooling fans. Be cautious when working in this cramped area to avoid touching or bumping other parts accidentally. If necessary, use your flashlight to illuminate the area so you can see clearly.
Examine the Connections
Before removing the graphics card, examine how it is connected to the motherboard. The graphics card will be attached to both the PCIe slot and possibly several power cables. Take a mental note of how these connections are made. Understanding how the cables are plugged in will make reconnecting them easier when you install a new graphics card or reassemble your system.
If your graphics card has any additional components, such as a backplate or a dedicated cooling system, be aware of them as well. It’s helpful to have a clear idea of what you are dealing with before you begin the removal process. Use this time to double-check everything and prepare for the next steps in the process.
Removing the Graphics Card
Unscrew the Card (If Necessary)
Most graphics cards are secured in place with screws. Locate the screws at the rear of the graphics card that hold it in the expansion slot or cover a bracket. Using your Phillips-head screwdriver, carefully unscrew these fasteners. Be sure to keep these screws in a safe place, as you will need them if you plan to reinstall or replace the graphics card.
If your case design features a tool-less slot system, you may need to press a latch or pull a lever to take the card out instead of unscrewing. Carefully refer to your case manual if you are unsure how to proceed. Once the screws or latches are released, the graphics card should be free to move.
Release the PCIe Slot
After ensuring that the screws are removed, the next step is to gently pull the graphics card out of the PCIe slot. Most graphics cards have a plastic latch that secures the card in place. Locate this latch, usually at the rear end of the PCIe slot. Carefully push down on the latch to release the card from its slot.
Once the latch is disengaged, grip the card firmly but gently. Avoid pulling by the components or cables, as this can cause damage. Instead, hold the graphics card by its edges while pulling it straight up and out of the slot. Be cautious not to rock the card back and forth, as this can damage the pins in the PCIe slot or the card itself.

Addressing Common Issues
Troubleshooting Graphics Card Removal
If you encounter difficulties while attempting to remove the graphics card, it’s important to troubleshoot the situation carefully. For instance, if the graphics card seems stuck, double-check that all screws have been removed and that the PCIe latch is fully disengaged. A common mistake is to overlook a minor detail that prevents easy removal.
If the card still doesn’t budge, try gently wiggling it back and forth while pulling upward. However, do not use excessive force, as this may cause damage. If you encounter significant resistance, take a moment to reassess the connections and the removal process. Sometimes, a thorough inspection can reveal overlooked screws or connections.
Inspecting for Damage
Once you successfully remove the graphics card, take the opportunity to inspect both the card and the motherboard for any signs of damage. Look for bent pins, scratches, or burnt areas on the PCIe slot. Any visible issues could lead to problems when reinstalling or using hardware in the future. If you see damage on the graphics card, consider replacing it or seeking professional help.
Additionally, check the slot on the motherboard itself to ensure nothing is out of place. It’s essential to have both the card and the slot in good working order for reinstallation. Taking this moment to gather visual data about the condition of the components can help inform future decisions regarding repairs or upgrades.
Cleaning and Maintenance
Cleaning the Graphics Card
Now that the graphics card is removed, consider performing some maintenance. Cleaning the graphics card can enhance its performance and longevity. Use compressed air to blow away dust and debris from both the fan and heat sink. Avoid using a vacuum cleaner, as it may generate static electricity.
For deeper cleaning, use a microfiber cloth slightly dampened with isopropyl alcohol. Wipe down the card, being careful around the delicate components and connectors. Make sure no moisture remains before storing the graphics card or reinstalling it.
Cleaning the PCIe Slot and Surrounding Area
While the graphics card is removed, take the chance to clean the PCIe slot and the surrounding area on the motherboard. Dust can accumulate over time and impact connectivity. Use compressed air to blow out any dirt and debris. Again, be gentle to avoid damaging any nearby components.
Taking a moment for this maintenance can help ensure optimal performance when the graphics card is reinstalled. Good overall hygiene in your computer case contributes to better cooling and can extend the life of your hardware. Regular cleaning is a best practice that most users overlook.

Reinstalling the Graphics Card
Preparing for Reinstallation
Once you have completed your maintenance and are ready to reinstall the graphics card, ensure that everything is clean and dry. Gather the necessary tools and prepare any screws or components you may need. If you have replaced the graphics card, unpack the new card without touching any of the components or connectors directly.
Align the graphics card’s connector with the PCIe slot on the motherboard. Double-check that the card faces the correct direction and that the gold pins are lined up properly. This ensures a seamless fit into the slot, reducing the risk of pin damage or misalignment.
Securing the Card
Gently but firmly press the graphics card into the PCIe slot. You’ll hear a soft click once it seats correctly, indicating that the PCIe latch has secured it in place. Once the card is surrounded by the slot, replace any screws you previously removed to secure it to the case. This will keep the card stable during operation.
After securing the graphics card, reconnect any power cables that may be necessary. Most high-performance graphics cards require additional power connections, usually 6-pin or 8-pin connectors. Make sure these cables are firmly attached to ensure adequate power supply. Once everything is secure, close your computer case.
Final Thoughts and Testing
Testing the System
How to remove graphics card from motherboard? After you have reinstalled the graphics card successfully, it is time to test the system. Plug in all the cables you previously disconnected and turn on your computer. The boot process should initiate as usual, and monitor the outputs for any signs of trouble. If the card was installed correctly, the system should recognize it without issues.
Check the display resolution and settings to ensure the graphics card is functioning properly. If any problems arise, revisit the installation steps and ensure that everything is connected correctly. Look for any visible signs of trouble, such as artifacts on the screen or failure to display properly.
Wear and Care
Proper removal and maintenance of your graphics card are crucial for its longevity and performance. Regular cleaning and inspections can prevent many future problems. Keeping the graphical hardware in optimal condition pays off in performance and reliability, especially for gaming or graphic-intensive tasks.
Overall, understanding how to remove and troubleshoot a graphics card from a motherboard is a valuable skill for any computer user. Whether you are upgrading, performing maintenance, or troubleshooting issues, following these steps will make the process smoother and safer. Remember to approach the process with patience and care, and you’ll ensure the best possible outcomes for your motherboard and graphics card.


