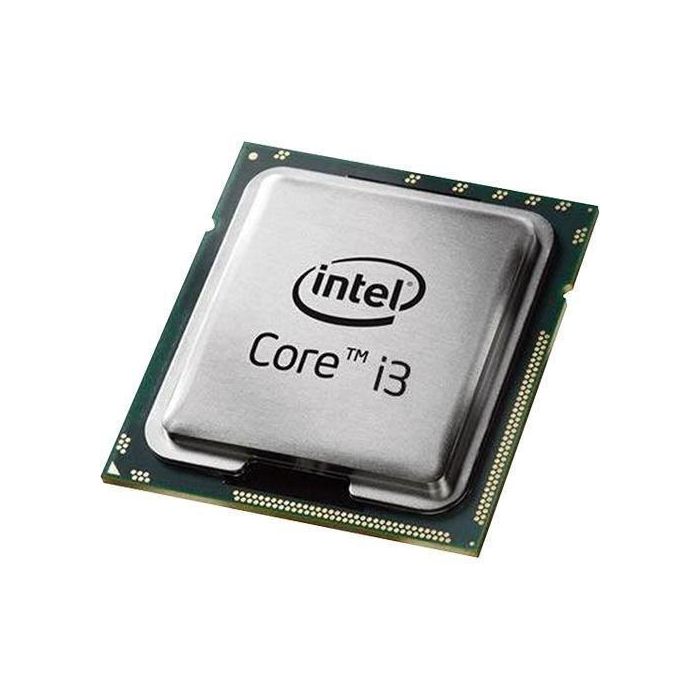
The Intel Core i3-10100 is often overlooked in the world of gaming. Many gamers assume that only high-end processors can provide a smooth gaming experience. However, the i3-10100 offers excellent performance at an affordable price, making it ideal for budget-conscious gamers. This article will explore how to unlock the full potential of the Intel Core i3-10100 for gaming, discussing its features, building a capable gaming PC around it, and optimizing performance for an enjoyable gaming experience.
Understanding the Intel Core i3-10100
Before diving into gaming applications, it’s essential to understand what the Intel Core i3-10100 brings to the table. This processor is part of Intel’s 10th generation lineup and features four cores and eight threads. It is built on a 14nm process, which contributes to its energy efficiency and performance.
Key Features of the i3-10100
- Clock Speed: The i3-10100 has a base clock speed of 3.6 GHz and can boost up to 4.3 GHz. This capability enables smooth gameplay, even in demanding scenarios.
- Hyper-Threading: With Hyper-Threading technology, the i3-10100 can handle multiple tasks more efficiently. This benefit allows for better multitasking while gaming, such as streaming or running background applications.
- Integrated Graphics: The i3-10100 includes Intel UHD Graphics 630. While not as powerful as dedicated GPUs, these integrated graphics are sufficient for light gaming and casual titles.
Understanding these features will help you appreciate how the i3-10100 can serve as an effective gaming processor despite its budget-friendly status.
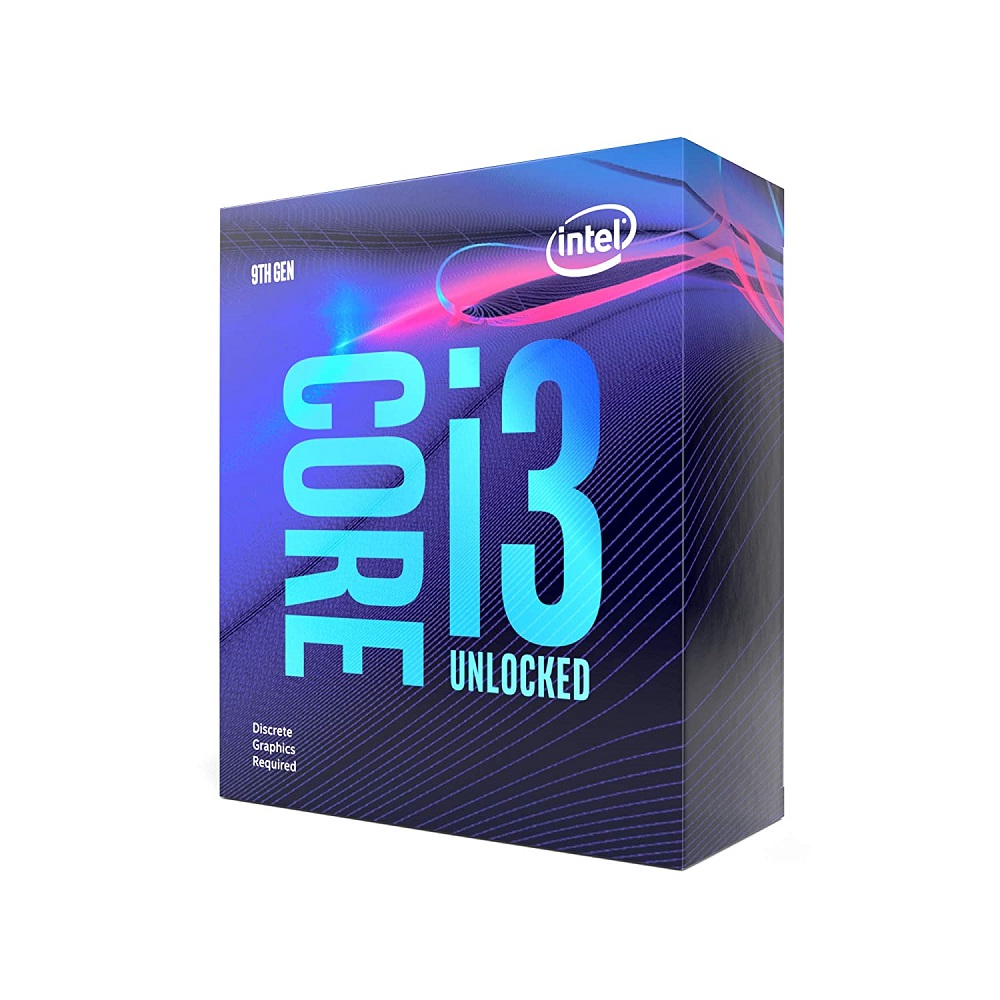
Choosing the Right Components
To unlock the power of the Intel Core i3-10100, selecting compatible and high-quality components is vital. The choice of motherboard, RAM, storage, and graphics card can significantly affect overall performance.
Selecting a Motherboard
Choose a motherboard that supports the LGA 1200 socket, which is necessary for the i3-10100. Consider the following factors:
- Form Factor: ATX and micro-ATX motherboards are popular choices. The size should match your PC case.
- Features: Look for motherboards with PCIe 3.0 slots and adequate connectivity ports. Integrated Wi-Fi can also be a plus.
- VRM Quality: A motherboard with a solid VRM design will support stable power delivery during gaming and multitasking.
Brands such as ASUS, MSI, and Gigabyte offer reliable options that cater to the i3-10100.
Memory and Storage Options
For optimal performance, choose quality RAM and storage solutions to complement the i3-10100.
- RAM: Aim for a minimum of 16 GB of DDR4 RAM. This amount ensures smooth multitasking and allows you to run several applications while gaming. Look for RAM with speeds of at least 2666 MHz to make the most of the CPU’s capabilities.
- Storage: Use an NVMe SSD for the operating system and frequently played games. This storage type offers faster load times compared to traditional HDDs. For additional space, consider pairing the SSD with a larger HDD for less frequently accessed files.
Opting for reliable brands like Corsair, G.Skill, and Samsung for RAM and storage will enhance your system’s overall performance.
Building the Gaming PC
With all the necessary components selected, you can begin the building process. Follow these steps to ensure a successful and efficient assembly.
Preparing Your Case
Start with a well-ventilated case that provides room for your components. This step will ensure proper airflow, keeping temperatures low during gaming sessions.
- Install the Power Supply: Begin by mounting the power supply in the case. Make sure the fan orientation allows for efficient airflow. Use screws provided with the PSU to secure it in place.
- Motherboard Installation: Carefully place the motherboard inside the case. Align it with the standoffs and use screws to secure it firmly. Ensure proper grounding to avoid electrical issues.
Installing CPU, RAM, and Coolers
Next, install the CPU, RAM, and cooling solutions.
- CPU Installation: Open the CPU socket on the motherboard. Align the notches of the i3-10100 with those in the socket and gently place it in. Lock the CPU in place by closing the socket lever.
- RAM Installation: Open the clips on the RAM slots. Insert the RAM sticks firmly, ensuring they click into place. If you are using dual-channel memory, place the modules in the correct slots to take advantage of improved bandwidth.
- Cooler Installation: If you’re using an aftermarket cooler, apply thermal paste if not pre-applied. Install the cooler following the manufacturer’s instructions. Ensure it has a secure connection for optimal thermal performance.
Adding GPU and Storage
Once the CPU, RAM, and cooler are in place, add the graphics card and storage drives.
- Graphics Card: If you choose to use a dedicated GPU, insert it into the appropriate PCIe slot on the motherboard. Secure it with screws and connect the necessary power cables.
- Storage Drives: Install the NVMe SSD into the M.2 slot on the motherboard. For SATA drives, mount them in their designated bays and connect the SATA cables to the motherboard.
Final Connections and First Boot
With all components installed, make the necessary final connections before powering on the system.
Connecting Cables
- Power Cables: Connect the 24-pin ATX power cable and the 8-pin CPU power cable to the motherboard.
- Front Panel Connectors: Connect the front panel headers, including the power switch, reset button, and USB ports to the motherboard according to the manual provided.
- Cooling Fans: Connect any case fans to the appropriate fan headers on the motherboard. This step will ensure adequate airflow to keep temperatures low during gaming sessions.
First Boot and BIOS Setup
Now that all connections are made, it’s time for the first boot.
- Power On the System: Connect your monitor and peripherals, then turn on the power supply and press the power button. Listen for the fans and check for LED indicators on the motherboard.
- Enter BIOS: Press the relevant key (usually Del or F2) to enter BIOS settings. Verify that the CPU, RAM, and storage devices are detected. If you have installed multiple drives, ensure the boot order is correctly configured.
- XMP Profile: If your RAM supports XMP, enable this in BIOS to run the memory at its rated speed. This step is crucial for maximizing performance.
Optimizing Performance for Gaming
After successfully booting your system, it’s time to optimize performance for the best gaming experience.
Overclocking the CPU
The Intel Core i3-10100 has limited overclocking potential compared to higher-end options. However, you can still tune the performance by adjusting some settings in the BIOS.
- Increase Turbo Boost: Use the BIOS to adjust the turbo boost settings. This adjustment can enhance CPU performance during gaming sessions, leading to better frame rates.
- Monitor Temperatures: Use software tools to monitor CPU temperatures during stress tests and gaming. Keeping temperatures in check is essential for maintaining system stability.
Game Settings and Performance Tuning
Once you have the hardware set up, it’s time to focus on software optimization for gaming.
- Install the OS and Drivers: Install your preferred operating system. Ensure you install all necessary drivers for your motherboard, GPU, and other components. This step will enable smooth communication between hardware and software.
- Game Graphics Settings: Start with moderate graphics settings in your games. Since the i3-10100 is not a high-end processor, keeping settings balanced can prevent bottlenecks. Adjust settings based on performance tests to find the best results.
Game Streaming and Multitasking
Thanks to Hyper-Threading, the i3-10100 can handle multitasking better than many processors in its class. If you plan to stream your gameplay, ensure you have software like OBS (Open Broadcaster Software) installed and properly configured.
- Streaming Settings: Optimize the bit rate and resolution settings for streaming. Start with lower settings if you’re new to streaming. Higher settings can be adjusted later as you become more comfortable.
- Background Applications: Manage background applications to avoid performance issues during gaming. Close unnecessary programs to free up resources for your games.
Conclusion
Unlocking the power of the Intel Core i3-10100 for gaming is not only achievable but can also provide a delightful gaming experience at a budget-friendly price. Understanding the features of this processor, choosing compatible components, and carefully assembling your gaming PC will lead to an impressive setup.
By optimizing performance with overclocking, tweaking game settings, and effectively managing resources during multitasking, you can maximize the potential of the i3-10100. This processor is suitable for casual gamers and those looking to enter the gaming world without breaking the bank. Enjoy every moment of your gaming adventure, knowing that you have built a capable and efficient gaming PC around the Intel Core i3-10100.
