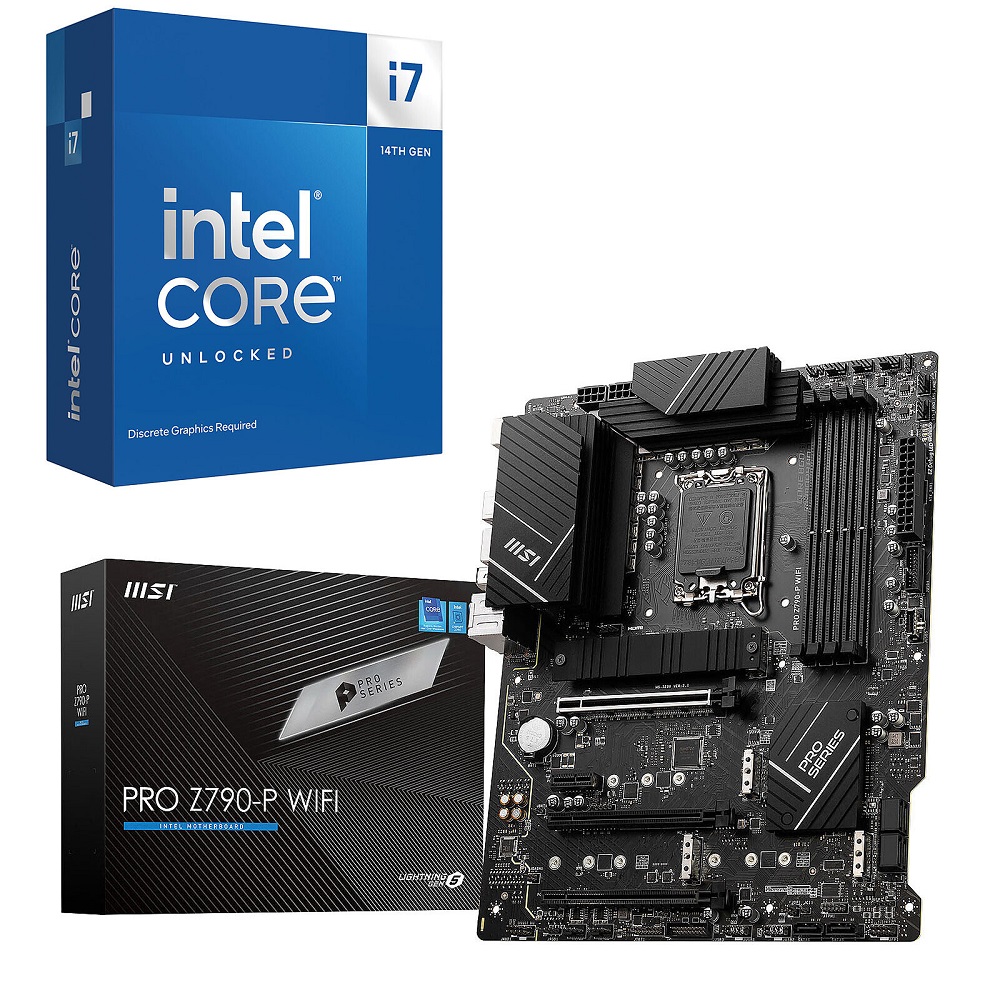
Gaming has become a major pastime for millions of people worldwide. To truly enhance the gaming experience, having a powerful PC is essential. At the heart of any high-performance gaming rig is the processor. The Intel Core i7-14700KF is a remarkable option for gamers who seek speed and efficiency. This article will guide you through the process of building the ultimate gaming PC utilizing the Intel Core i7-14700KF, discussing essential components, assembly tips, and performance tuning.
Understanding the Intel Core i7-14700KF
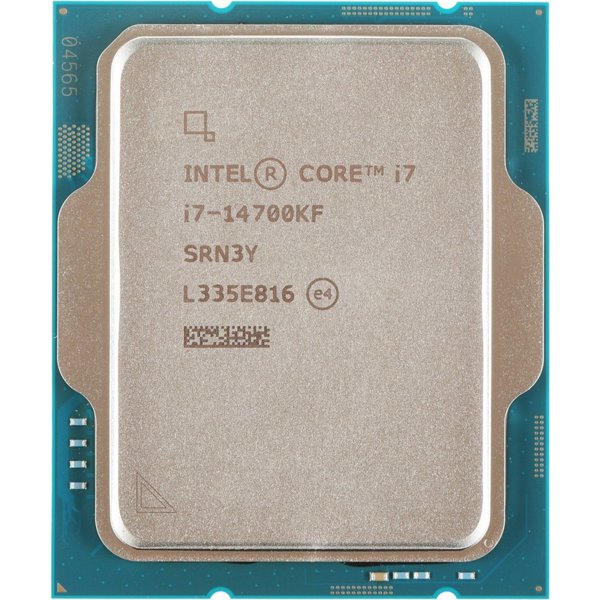
Before diving into the specifics of building your gaming PC, you must understand the Intel Core i7-14700KF. Released as part of Intel’s 14th generation of processors, this CPU is designed for gamers and content creators alike.
Key Features of the i7-14700KF
- High Clock Speed: The i7-14700KF boasts impressive clock speeds, with a base clock of 3.4 GHz and a turbo boost up to 5.6 GHz. This allows for smooth gameplay and quick application loading.
- Cores and Threads: With 16 cores and 24 threads, this processor excels in multitasking. This feature is beneficial for gamers who stream their gameplay or run background applications while gaming.
- Unlocked Multiplier: The “K” in the i7-14700KF indicates that it has an unlocked multiplier. This allows for overclocking, giving serious gamers the ability to push their CPU to achieve even better performance.
Understanding these features can help you realize why the i7-14700KF is an excellent choice for your gaming rig.
Selecting the Right Components
Once you have decided on the Intel Core i7-14700KF, the next step is selecting compatible components. Building a well-rounded PC includes choosing the right motherboard, GPU, RAM, storage, cooling, and power supply.
Choosing the Motherboard
The motherboard is the backbone of your build. Choose an ATX or micro-ATX motherboard with the LGA 1700 socket to support the i7-14700KF. Look for features such as:
- PCI Express 5.0 Support: This future-proofs your system for the latest graphics cards and expansion cards.
- Good VRM Design: A motherboard with a robust voltage regulator module (VRM) will provide stable power for overclocking.
- RAM Compatibility: Select a motherboard that supports at least 32 GB of DDR4 RAM.
Recommended options include motherboards from the ASUS ROG, MSI, or Gigabyte series, known for their build quality and performance.
Graphics Card (GPU)
For gaming, the graphics card is arguably the most critical component. Pair the Intel Core i7-14700KF with a powerful GPU to achieve optimal performance. Current options like the NVIDIA GeForce RTX 30 series or the AMD Radeon RX 6000 series provide excellent frame rates and high resolutions.
- Consider VRAM: For gaming at 1440p or 4K, opt for a GPU with at least 8 GB of VRAM.
- Ray Tracing Capability: If you want to experience the latest games with all graphics settings maxed out, ensure your GPU supports real-time ray tracing.
Memory (RAM) and Storage
To ensure smooth multitasking and fast loading times, choose high-quality RAM and storage solutions.
- RAM: For gaming, a minimum of 16 GB is recommended, but 32 GB is ideal for future-proofing and heavy multitasking. Look for DDR4 RAM with speeds of at least 3200 MHz.
- Storage: Opt for a combination of SSD and HDD drives:
- SSD: Use an NVMe SSD for the operating system and frequently played games. This will greatly reduce loading times.
- HDD: Consider a larger HDD for additional storage of less frequently accessed games and files.
Recommended brands for RAM include Corsair, G.Skill, and Kingston, while good SSDs come from Samsung and Western Digital.
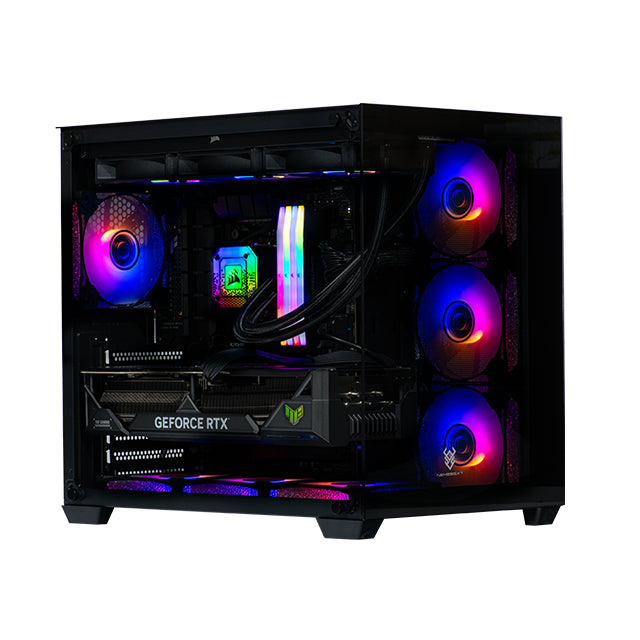
Cooling and Power Supply
Proper cooling is critical for any gaming build, especially when overclocking. Additionally, a reliable power supply ensures your system runs smoothly.
CPU Cooling Solutions
Since the Intel Core i7-14700KF is unlocked, using an efficient cooling solution is essential for optimal performance.
- Air Coolers: High-performance air coolers from brands like Noctua or be quiet! provide excellent cooling and are easier to install.
- Liquid Coolers: For better thermal performance and aesthetic appeal, consider an All-In-One (AIO) liquid cooler. Models with 240mm or larger radiators are effective for high-performance cooling.
Choosing a cooler that matches your case size and airflow design is important to maintain optimal cooling efficiency.
Power Supply Unit (PSU)
Select a power supply that provides ample wattage to support your components. For a build centered around the i7-14700KF and a high-end GPU, aim for a PSU with at least 750W capacity.
- 80 Plus Certification: Look for a PSU with an 80 Plus Gold or Platinum rating for better energy efficiency and reliability.
- Modular Design: A modular power supply allows you to use only the cables you need, improving cable management.
Recommended brands include Seasonic, EVGA, and Corsair.
Assembling Your Gaming PC
With all components selected, the actual assembly process begins. Start by preparing your workspace and ensuring you have the necessary tools ready.
Preparing the Case
Begin by choosing a case that fits your motherboard form factor and has good airflow. Remove the side panels and unpack all components carefully.
- Install the Power Supply: Start by mounting the PSU in the designated area, ensuring the fan faces the correct direction for airflow.
- Mount the Motherboard: Install standoffs in the case where the motherboard will be placed, and carefully mount the motherboard. Use screws to secure it.
Installing CPU, RAM, and Cooling
Next, install the CPU, RAM, and cooling system.
- CPU Installation: Open the CPU socket on the motherboard. Align the CPU with the socket, ensuring the notches match. Gently place it down and close the locking mechanism.
- RAM Installation: Locate the RAM slots. Open the clips on either side and insert the RAM sticks, ensuring they click into place.
- Cooling Solution: If you’re using an air cooler, apply thermal paste if not pre-applied and mount the cooler according to the manufacturer’s instructions. For liquid coolers, install the radiator at the top or front of the case as needed.
Adding GPU and Storage
After the CPU, RAM, and cooling are in place, it’s time to install the graphics card and storage.
- Graphics Card Installation: Insert the GPU into the appropriate PCIe slot on the motherboard. Secure it using screws and connect any additional power cables.
- Storage Installation: If using an NVMe SSD, insert it into the M.2 slot on the motherboard and secure it. For other drives, mount them in the designated bays and connect them to the motherboard.
Final Steps and First Boot
With all components secured and connected, it’s time to make your final connections and power on the system.
Connecting Cables
- Power Cables: Connect the 24-pin motherboard cable and CPU power cable to the motherboard.
- Front Panel Connectors: Connect the front panel connectors, including power switch, reset button, and USB ports. Consult the motherboard manual for the correct pin layout.
- Cooling Fans: Connect any case fans to fan headers on the motherboard for optimal cooling.
First Boot and BIOS Setup
Once all connections are made, plug in your monitor and keyboard. Power on the computer to check if everything works correctly.
- BIOS Access: Press the relevant key (usually Del or F2) to enter BIOS. Check if the CPU and RAM are recognized correctly. You may also want to enable XMP for the RAM to run at the advertised speeds.
- Install Operating System: After confirming everything is functioning, proceed to install your preferred operating system. Windows is popular among gamers for its compatibility with a wide array of games.
Performance Tuning and Optimization
After the installation process, it’s time to optimize your system for peak performance.
Overclocking
With the Intel Core i7-14700KF, consider overclocking for enhanced performance. Use applications such as Intel Extreme Tuning Utility to adjust clock speeds and monitor temperatures. Start with small increments to ensure system stability.
Game Settings and Experience
Once the operating system and drivers are installed, configure your game settings. Most modern games offer graphic settings that can be adjusted based on your system performance.
- Resolution: Set the game resolution to match your monitor’s capability for the best visuals.
- Texture Quality: Adjust texture quality and other settings based on the GPU’s performance capabilities.
System Monitoring
Monitor system temperatures and performance using tools like MSI Afterburner or HWMonitor. These applications provide real-time data, allowing you to ensure that your new gaming rig operates smoothly.
Conclusion
Building the ultimate gaming PC with the Intel Core i7-14700KF can provide an exhilarating gaming experience. By understanding the components, following a precise assembly guide, and optimizing system performance, you can create a powerful rig that meets all your gaming needs.
This investment will not only enhance your gaming experience today but also prepare you for future gaming demands. Enjoy the excitement of building and customizing your own gaming PC, and revel in the performance gains that come with it. Embrace new gaming adventures with confidence, knowing your system is equipped for success.
