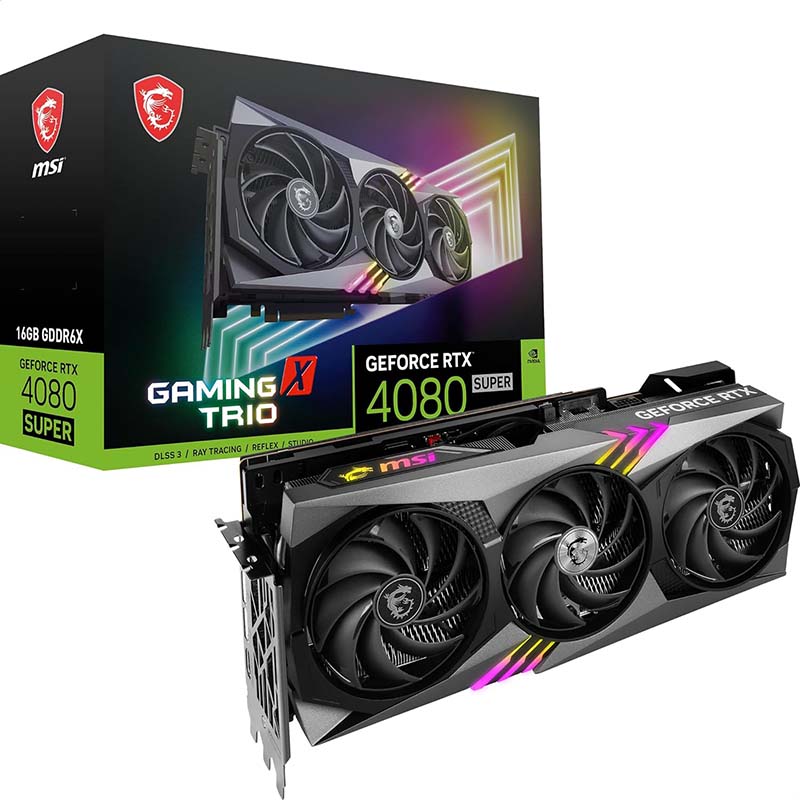
Your graphics card (GPU) is a crucial component of your computer, especially if you engage in gaming, video editing, or any tasks that require high visual performance. Knowing how to check your graphics card allows you to monitor its performance, verify its specifications, and troubleshoot issues effectively. This article will guide you through various ways to easily check your graphics card on a PC, ensuring you have the necessary tools to maintain optimal performance.
Understanding Your Graphics Card
What Is a Graphics Card?
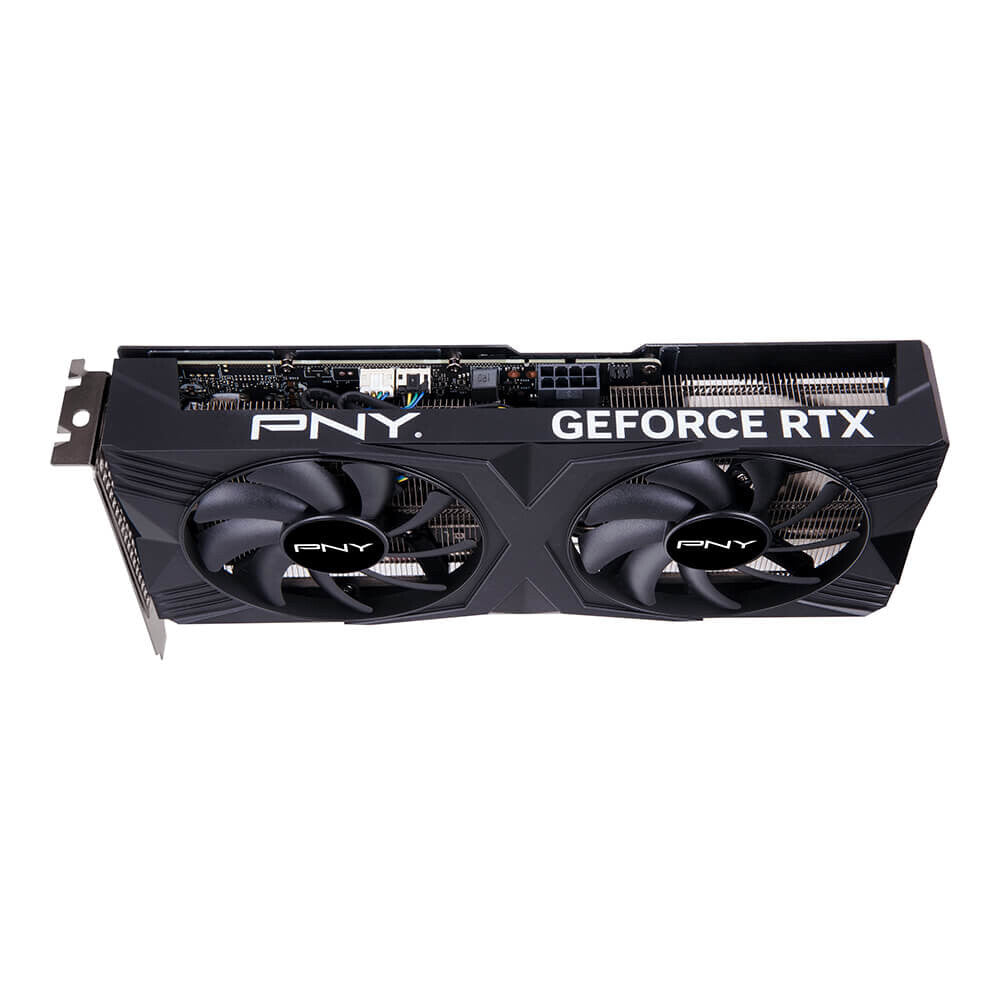
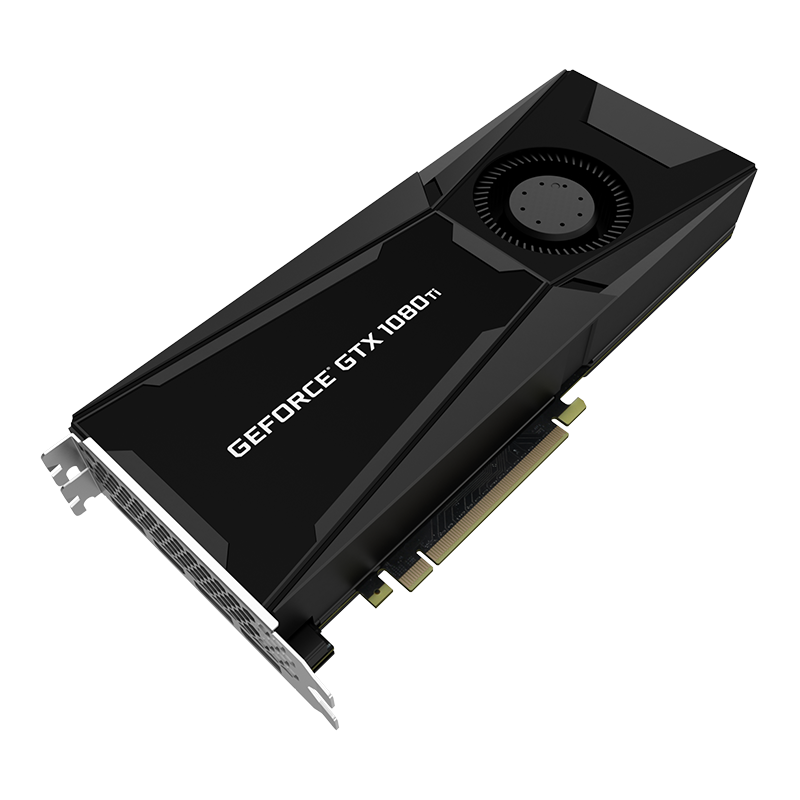
A graphics card is a hardware component responsible for rendering images and videos to your display. It handles complex calculations needed for graphics processing, allowing for smooth visuals, especially in high-intensity applications like gaming or graphic design. There are two primary types of graphics cards: integrated and dedicated.
Integrated graphics are built into the CPU and are suitable for routine tasks, while dedicated graphics cards provide distinct advantages in performance and efficiency. Understanding the type you have can help frame your expectations when checking performance and functionalities later.
Why Check Your Graphics Card?
Regularly checking your graphics card is important for several reasons. You may want to confirm your system meets the requirements for specific software or games or check for driver updates. Additionally, monitoring your graphics card can help you identify potential issues before they escalate, ensuring that your PC runs smoothly and efficiently.
Using Windows Device Manager
Accessing Device Manager
One of the easiest methods to check your graphics card is through Windows Device Manager. This tool provides a clear overview of all hardware components connected to your PC. To access Device Manager, right-click the Windows icon in the lower-left corner of your screen and select “Device Manager” from the menu.
Finding Your Graphics Card
Once you’re in Device Manager, look for the category labeled “Display adapters.” Click on the arrow next to it to expand the section. Here, you will see the name of your graphics card listed. If you have both integrated and dedicated graphics cards, both should appear in this section.
Once you identify your graphics card, right-click on it and choose “Properties” to explore additional details like the driver version and status information. This step can help you determine if the card is functioning correctly or if it requires an update.
Checking Graphics Card Specifications
Using DirectX Diagnostic Tool
For a more advanced overview of your graphics card’s specifications, use the DirectX Diagnostic Tool (DxDiag). This built-in Windows utility provides detailed information about your graphics hardware and can be accessed by following these steps:
- Press
Windows + Rto open the Run dialog box. - Type
dxdiagand press Enter.
Exploring the DirectX Diagnostic Tool
When the DirectX Diagnostic Tool loads, navigate to the “Display” tab. Here, you’ll find comprehensive information about your graphics card, including the name, manufacturer, chip type, and memory. You will also see details regarding the driver version and date, helping you determine if your drivers are up to date.
This information is beneficial not just for checking specifications, but also for troubleshooting issues. If you experience graphical problems or performance drops, refer back to this data to verify that your GPU meets the requirements of the applications you are running.
Utilizing Third-Party Software
Popular GPU Monitoring Tools
While built-in Windows tools are functional, third-party software can provide more detailed insights into your graphics card performance and capabilities. Popular programs include GPU-Z, MSI Afterburner, and HWMonitor. These applications give you real-time monitoring of your GPU’s temperature, load, memory usage, and clock speeds.
Installing and Configuring GPU-Z
To use GPU-Z, follow these steps:
- Download GPU-Z from the official website.
- Install the software and launch it.
Upon opening GPU-Z, you will find tabs that display all the technical details of your graphics card. The “Graphics Card” tab showcases GPU model, memory size, memory type, and more. This detailed view is perfect for troubleshooting performance issues or verifying specifications for gaming or graphics tasks.
Real-Time Monitoring with MSI Afterburner
MSI Afterburner not only allows you to monitor but also overclock your GPU if needed. Follow these steps to get started:
- Download MSI Afterburner from its official site.
- Install and launch the software.
MSI Afterburner displays real-time performance data, including temperature, usage, and fan speed. This real-time monitoring helps you understand how your graphics card performs under different loads, allowing you to identify and correct potential overheating issues.
Checking Graphics Card Performance with Benchmarking
What Is Benchmarking?
Benchmarking is the process of running specific tests on your graphics card to gauge its performance in real-world scenarios. These tests help compare your GPU’s capabilities against industry standards, providing a clear understanding of how well it performs.
Using 3DMark for Benchmarking
3DMark is a widely used benchmarking tool for testing graphics card performance. Here’s how to use it:
- Download and install 3DMark from its official website or Steam.
- Launch the application and choose a benchmark test suitable for your needs. The “Time Spy” option is great for high-end GPUs, while “Sky Diver” works well for mid-range systems.
Run the tests and wait for the benchmark results. 3DMark will provide scores and detailed breakdowns of performance across various graphical workloads, giving you insight into your GPU’s capabilities.
Interpreting Benchmark Results
After completing the benchmark tests, review the results. Compare your scores with those from other systems to determine ranking. A significantly lower score may indicate issues with your graphics card or your system’s performance.
Updating Graphics Card Drivers
Why Update Drivers?
Regularly updating your graphics card drivers ensures optimal performance and compatibility with the latest software and games. Driver updates often fix bugs, improve performance, and introduce support for new features. If you encounter graphical issues or your system feels sluggish, checking for driver updates may be an effective solution.
Checking for Updates via Device Manager
You can quickly check for updates through Device Manager. Simply:
- Right-click your graphics card under “Display adapters.”
- Select “Update driver,” and then choose “Search automatically for updated driver software.”
If Windows finds a new driver, it will download and install it accordingly. If not, consider visiting the manufacturer’s website for the most up-to-date drivers specifically designed for your GPU.
Using GPU Manufacturer’s Software
Most GPU manufacturers, like NVIDIA and AMD, offer dedicated software suites for driver management. NVIDIA’s GeForce Experience and AMD’s Radeon Software provide user-friendly interfaces for managing graphics settings and keeping drivers up to date.
Installing Updates from Manufacturer Websites
If you want to manually install new drivers, visit your GPU manufacturer’s website. Search for your graphics card model and download the latest drivers. Follow the installation prompts to ensure you install them correctly. Restart your PC afterward to apply changes effectively.
Troubleshooting Common Graphics Card Issues
Identifying Common Problems
Knowing how to check your graphics card on PC is important for troubleshooting issues. Common problems include graphical artifacts, screen flickering, crashes during high-demand tasks, and degraded performance. Understanding what symptoms to look for can help you diagnose potential graphics card issues effectively.
Testing with a Different Monitor
If you experience display-related problems, consider testing your graphics card with a different monitor. This will help determine whether the issue lies with the graphics card or the original display. Make sure to change cables as well, as a faulty cable can also produce visual artifacts or disturbance.
Checking Power Supply Adequacy
Graphics cards require adequate power to function correctly. If your PC crashes or your GPU struggles under load, inspect your power supply unit (PSU). Ensure that it provides enough wattage to support your graphics card and other system components. Upgrading your PSU or ensuring all power connections are secure can resolve such issues.
Conclusion
Effectively check your graphics card on PC is essential for maintaining optimal performance, troubleshooting problems, and upgrading your system. By familiarizing yourself with the tools and methods available, you can monitor your GPU’s health and capabilities, ensuring it meets your needs for gaming or creative tasks.
Whether you use built-in tools like Device Manager and DirectX Diagnostic Tool or opt for more comprehensive third-party software and benchmarking applications, understanding your graphics card will help you maximize its potential. Regularly check graphics card on PC specifications, update drivers, and watch for performance issues. Being proactive with your graphics card maintenance allows you to enjoy a seamless computing experience tailored to your requirements.
