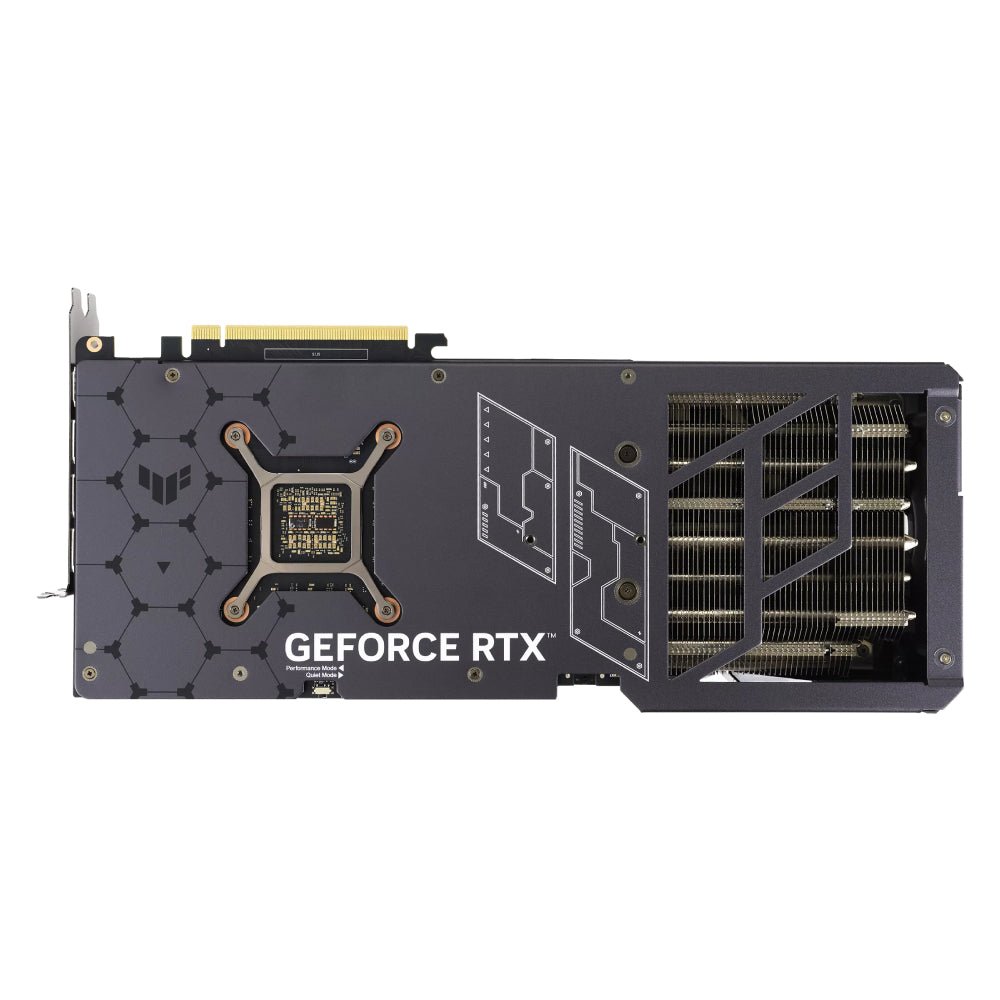
Knowing your graphics card’s model and specifications is essential for various tasks. Whether you’re troubleshooting graphics issues, optimizing settings for games, or planning an upgrade, checking your graphics card on Windows 10 can be straightforward. How to check your graphics card windows 10? This guide will walk you through several methods to find detailed information about your graphics card efficiently. Each method is easy to follow, regardless of your technical experience.
Using Settings to Check Graphics Card Information
Accessing the Settings Menu
How to check your graphics card windows 10? Windows 10 provides a user-friendly way to access your graphics card information directly through the Settings app. Begin by clicking on the Start button or pressing the Windows key on your keyboard. Next, select the Settings gear icon located on the left side of the Start Menu. This action will open the Windows Settings window, where you can explore various system options.
Once you’re in the Settings menu, click on System. This segment contains critical information about your display and other system settings. From the left sidebar, choose Display. Scroll down to the Advanced display settings link, usually located near the bottom of the page. Clicking this link will redirect you to a new window that provides information about your display and graphics card.
Viewing the Graphics Card Details
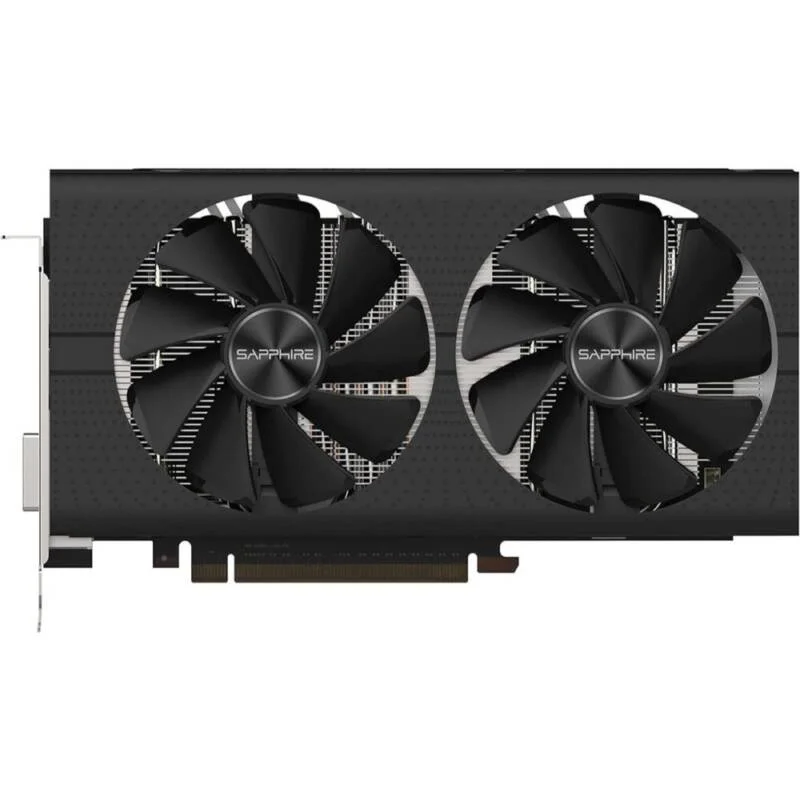
In the Advanced display settings, you’ll see a section labeled Display information. Here, you will find details about your monitor and the connected graphics card. Look for the section labeled Display adapter properties or simply the name of your graphics card. Clicking on it will open a new window with all the specifications related to your graphics card. You can see the model, manufacturer, and dedicated memory available to the graphics card. This information is beneficial for understanding what your system can handle.
Using Device Manager to Identify Graphics Card
Opening Device Manager
Another straightforward method to check your graphics card is through Device Manager, which offers essential hardware management features. To access Device Manager, right-click on the Start button again or press Windows + X on your keyboard. In the context menu that appears, choose Device Manager. This action opens a window listing all the devices connected to your system.
Locating Display Adapters
Once Device Manager is open, you’ll see a list of categories. Look for the section titled Display adapters. This category contains information specifically related to your graphics hardware. Click on the small arrow next to Display adapters to expand the section. Here, you will find the name of your graphics card listed.
Accessing Properties for More Info
By right-clicking on your graphics card name, you can select Properties from the context menu. Doing this will open a new window with tabs such as General, Driver, and Details. Under the General tab, you’ll see the device status, confirming that Windows recognizes your graphics card. The Driver tab provides details about the driver version and installation date, which can be helpful for troubleshooting issues or planning updates.
Using DirectX Diagnostic Tool (DxDiag)
Running the DxDiag Tool
The DirectX Diagnostic Tool, commonly known as DxDiag, is a built-in Windows utility that offers deep insights into your system’s graphics capabilities. To open it, press Windows + R to launch the Run dialog. In the text field, type dxdiag and hit Enter. This command will instantly execute the DxDiag tool and open a new window with various tabs, including display information.
Viewing Graphics Card Information
In the DxDiag window, navigate to the Display tab. Here you will find comprehensive details about your graphics card, such as the name, manufacturer, and product version. You will also see information about the amount of memory available to your graphics card, which is particularly useful when assessing system performance for gaming or graphic design tasks.
Additional Information
The DxDiag tool doesn’t only provide graphics card information. It includes system details related to drivers, display, and even sound devices. Scrolling down within the Display tab will also show you features supported by the DirectX version on your system, giving you insight into your system’s capabilities in handling graphics-intensive applications.
Checking Graphics Card with Third-Party Software
Utilizing GPU-Z
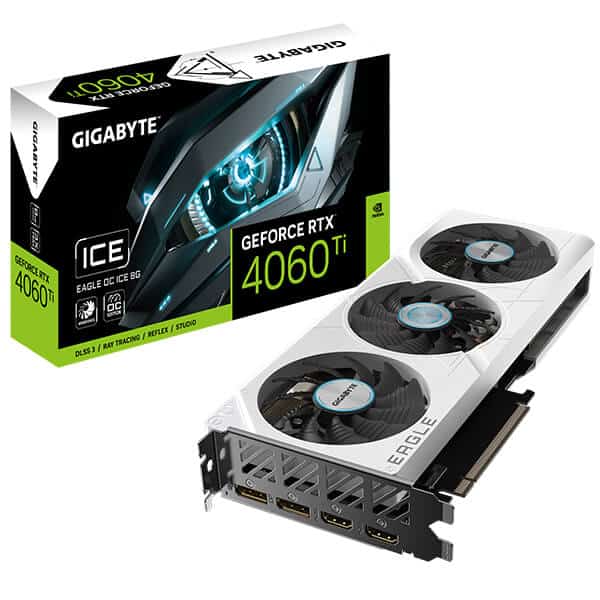
For users seeking detailed graphics card specifications beyond what Windows provides, third-party applications such as GPU-Z are highly effective. GPU-Z is a lightweight utility designed to provide information about your video card and GPU. To use it, download GPU-Z from its official website and install it on your computer.
Analyzing Detailed Specifications
Once installed, run GPU-Z, and you will see a window filled with detailed information about your graphics card. This includes clock speeds, memory type, and temperature readings, among other specifications. GPU-Z also supports real-time monitoring of your GPU’s performance, allowing you to track how your graphics card handles demanding tasks like gaming or rendering.
Exploring Other Third-Party Options
In addition to GPU-Z, other software like MSI Afterburner or HWMonitor provides similar capabilities. These applications can visualize your GPU performance, offering a range of features such as overclocking capabilities and performance metrics. Pick the one that aligns best with your usage and needs, whether you’re focused on monitoring performance or simply gathering general information.
Utilizing Windows Task Manager
Accessing Task Manager
Windows Task Manager provides not only details about running applications but also insights into hardware performance, including your graphics card. To access Task Manager, right-click on the taskbar and select Task Manager or press Ctrl + Shift + Esc.
When Task Manager opens, switch to the Performance tab. This section displays various performance metrics for the CPU, memory, disk, and GPU. To view graphics card information, look for the section labeled GPU. In this area, you’ll see real-time usage, dedicated memory, and other statistics about your graphics card. This informative overview helps you understand how well your GPU is performing while running applications or games.
Real-Time Monitoring and Usage Insights
The Performance tab allows you to monitor your graphics card’s real-time performance metrics. You can see charts indicating usage percentage, memory usage, and more. If you notice high usage during tasks that shouldn’t strain your GPU, this information can help you identify potential issues or resource-hogging applications that could benefit from optimization.
Updating Your Graphics Card Drivers
Significance of Keeping Drivers Up-to-Date
Once you have checked your graphics card and identified its model, it’s essential to ensure that your drivers are up-to-date. Updated drivers can improve performance, fix bugs, and enhance compatibility with games and applications. Manufacturers regularly release updates to address any issues and optimize GPUs for the latest software.
How to Update Drivers
To update your graphics card drivers, return to the Device Manager and right-click on your graphics card. From the context menu, select Update driver. You’ll be prompted to choose between automatically searching for updated driver software or browsing your computer for driver software. Opting for the automatic search option allows Windows to locate and install the latest driver for you.
Alternatively, you can visit the graphics card manufacturer’s website (such as NVIDIA, AMD, or Intel) to download the latest drivers directly. Not only does this ensure you have the latest version, but it also gives you access to any additional features or optimizations available for your graphics card.
Troubleshooting Common Issues
Resolving Display Problems
Occasionally, users may encounter problems related to their graphics card. If you experience issues such as screen flickering, display artifacts, or crashes while running specific applications, the first step is to ensure that drivers are up to date. Follow the driver update process to rectify these issues.
Checking for Hardware Issues
If problems persist after updating the drivers, consider inspecting the hardware itself. Ensure that the graphics card is properly seated in its slot if you are using a desktop. For laptops, checking for overheating or hardware malfunctions is crucial. Overheating may occur if the cooling system is obstructed or its components are malfunctioning.
Monitoring temperatures using third-party software can help identify overheating issues. If necessary, consider cleaning fans and vents using compressed air to remove dust and debris that may obstruct airflow.
Seeking Professional Help
If you’ve tried multiple solutions but still face challenges, it might be time to consult with a professional. Technical support from either your laptop manufacturer or a dedicated service can provide valuable insights. Don’t hesitate to reach out for help when needed; it can save you time and frustration.
Conclusion
How to check your graphics card windows 10? Checking your graphics card on Windows 10 is a valuable skill for both casual users and avid gamers. Whether through built-in tools like Device Manager and Task Manager or third-party software like GPU-Z, gathering information about your graphics hardware is straightforward and beneficial. You not only gain insights into your system’s capabilities but also prepare for upgrades and troubleshooting.
Keeping your drivers updated and being knowledgeable about performance metrics can significantly improve your experience, especially in demanding applications and games. How to check your graphics card windows 10? By following the steps in this guide, you can confidently monitor and manage your graphics card, ensuring your system runs smoothly and efficiently. With the right tools and knowledge, you can unlock the full potential of your Windows 10 system to meet your computing needs.
