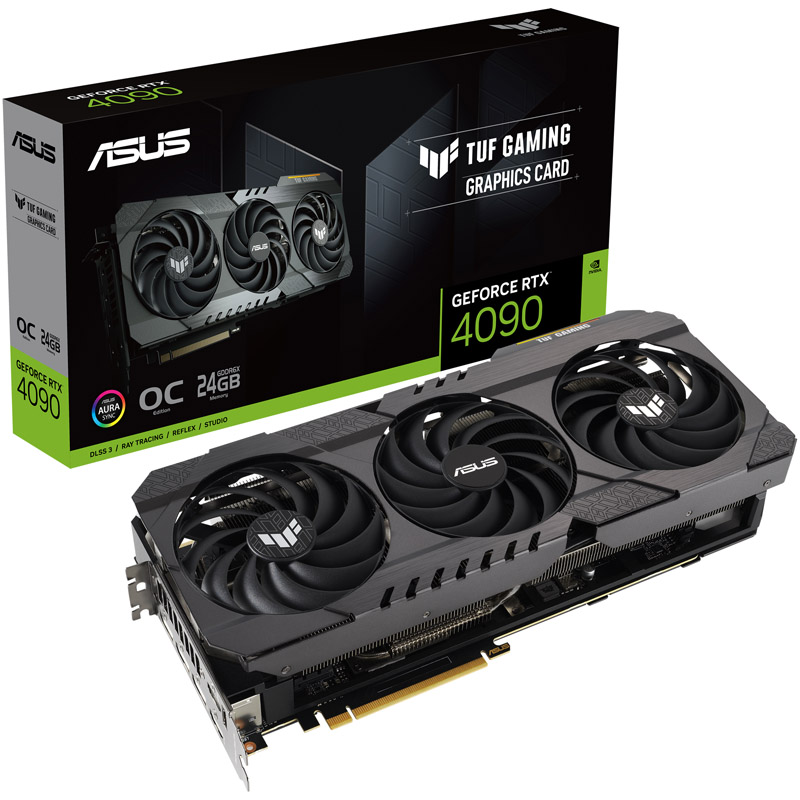
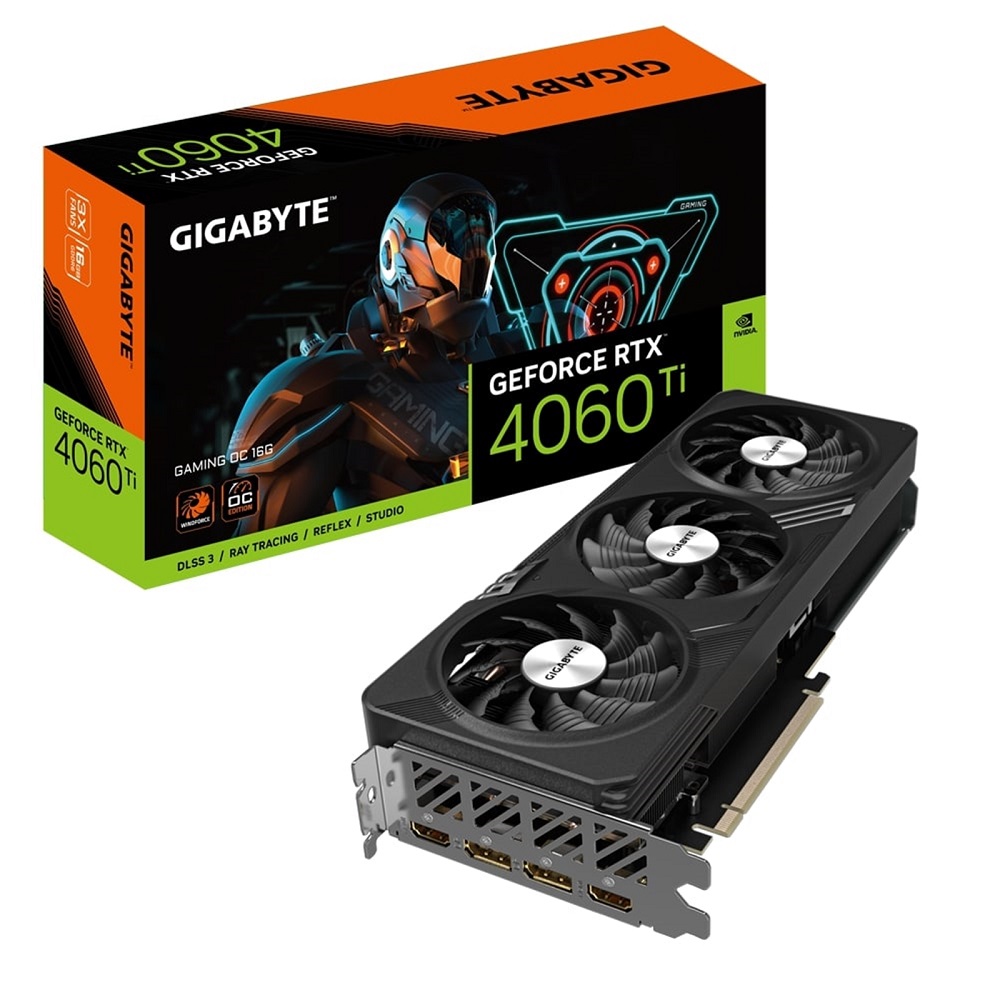
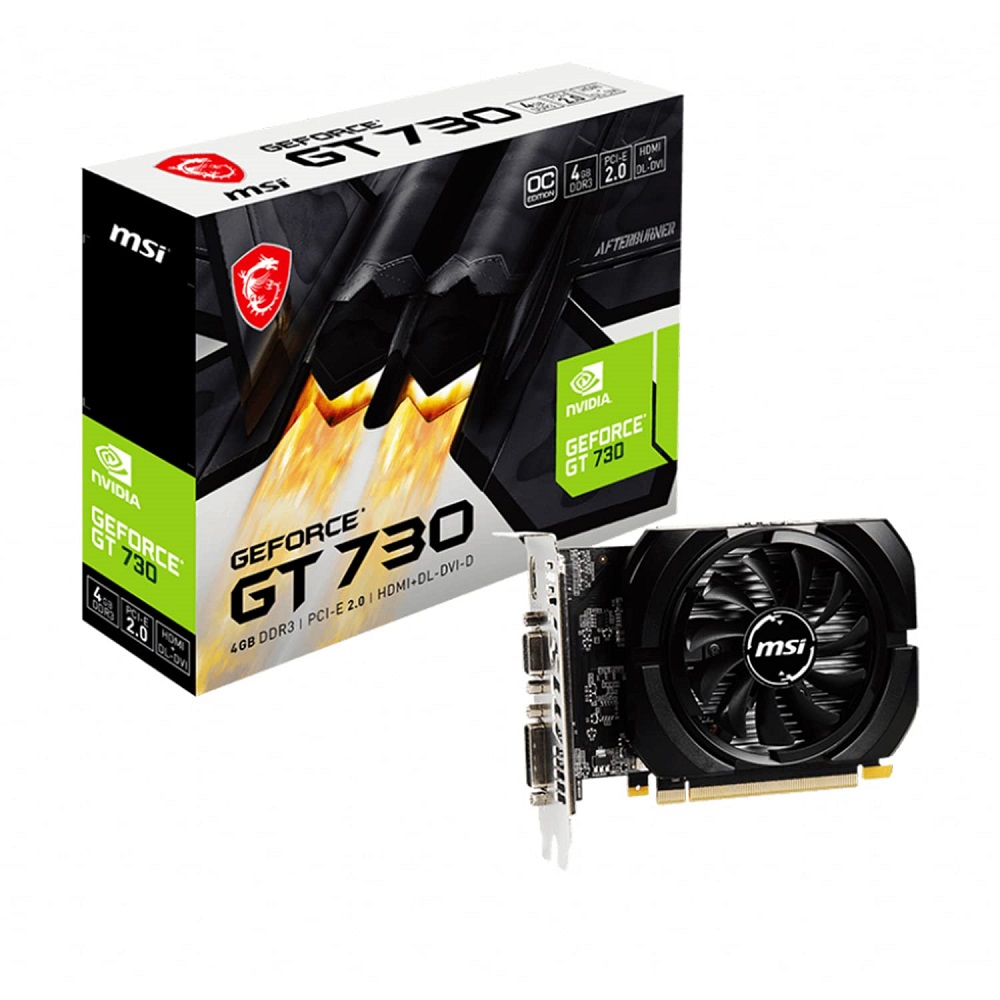
Assessing Compatibility Before Upgrading
Before diving into the process of upgrading graphics card, it’s crucial to assess whether your computer is compatible with a new card. This preliminary check ensures that the upgrade goes smoothly and that your PC can fully benefit from the increased performance.
Examining Motherboard Slots for Graphics Card
Start by inspecting your motherboard. Look for a PCIe x16 slot, which is the standard for modern graphics cards. Confirm that it’s available and accessible, and there are no obstructions that could hinder the seating of your new card.
Checking Power Supply Requirements
Graphics cards need power, so review your power supply unit (PSU). Check that it can handle the wattage your new card demands. Look for free 6-pin or 8-pin connectors that may be needed to power the card.
Case Size and Ventilation Considerations
Measure the interior space of your PC case to ensure the new graphics card will fit. Be mindful of the cooling system; ample ventilation is necessary to prevent overheating.
Operating System Compatibility
Ensure your operating system supports the new graphics card. Typically, modern cards require Windows 10 or Linux. Verify that you can install the latest drivers made for your OS.

Selecting the Right Graphics Card
Choosing the right graphics card is a key step in upgrading your PC’s visual capabilities. It determines how well your computer will handle gaming, video editing, and other graphics-intensive tasks. Consider several aspects to make your selection job easier.
Matching Graphics Card with Monitor Ports
Your monitor’s input ports dictate the graphics card compatibility. Most modern monitors feature HDMI, DisplayPort, or DVI inputs. Make sure the graphics card you choose has the matching output. This will ensure you get the best quality image and a seamless connection.
Aligning Games and Applications with Graphics Specifications
Your favorite games and applications set the bar for the card’s specs. Look for a card that meets the required memory, clock speed, and architecture. This means checking the minimum and recommended specifications for the software you’ll be running. Going for a card that surpasses these requirements is a good idea if you crave enhanced performance.
Understanding Performance Benchmarks for Desired Outcomes
Consider the benchmarks of possible graphics cards. These benchmarks tell you how well a card performs in real scenarios. Look at frames per second (FPS), resolution, and settings. They should align with your expectations and the resolutions supported by your monitor. Aim for a card that performs well at your desired settings for the best gaming or editing experience.
Preparing for Installation
Getting ready for the installation of your new graphics card involves a couple of critical steps. It’s not just about inserting the new component; you need to properly remove the old one and ensure you have all necessary tools on hand.
Safely Removing the Old Graphics Card
Before you can enjoy the benefits of your new graphics card, the old one must come out safely. Power down your computer and disconnect it from the electric outlet. Open the case and locate your existing graphics card. Detach any power cables connected to it. Unscrew the card from the case and release any latches on the PCIe slot. Now you can gently pull the card out. Place it aside, ideally in an anti-static bag.
Necessary Tools and Safety Precautions
A smooth installation requires the right tools. Have a Phillips-head screwdriver ready for loosening and tightening screws. Keep a pair of needle-nose pliers handy, just in case. Also, grounding yourself to prevent electrostatic discharge is paramount. Use an anti-static wrist strap or touch a metal part of the case’s frame before handling your new graphics card. Clear the work area of any clutter to avoid mishaps and ensure a safe installation environment.

Installing the New Graphics Card
Once you’ve removed your old graphics card, it’s time to install the new one.
Properly Seating and Securing the Graphics Card
First, align your new graphics card with the PCIe x16 slot you’ve checked earlier. Press down evenly and firmly until you hear a click. This sound indicates the card is properly seated. Next, use the screws you removed from your old card to secure the new card to the case. Make sure it’s fastened tightly to prevent any movement that could damage the motherboard.
Connecting Power and Display Cables
After securing the card, it’s crucial to connect the power cables. If your graphics card requires additional power, use the 6-pin or 8-pin connectors you identified in your power supply. Ensure each connector is snug and secure. Then, attach the display cable that matches your monitor’s port—HDMI, DisplayPort, or DVI—to the graphics card. This connection will allow you to see your computer’s output on the screen.
Upon completing these steps, your new graphics card is installed. You’re now ready to proceed to the driver setup and configuration, the next critical phase in upgrading your graphics card.
Setting Up and Configuring Drivers
After installing your new graphics card, setting up and updating drivers is a must. These drivers are what allow your operating system and software to utilize the graphics card fully. Without them, you won’t get optimal performance, and some features may not work at all.
Installing and Updating Necessary Software
First, visit the manufacturer’s website to download the latest drivers. Look for a link that says ‘Drivers’ or ‘Support.’ Choose the model of your graphics card and select the right drivers for your operating system. Run the downloaded file and follow the on-screen instructions. After installation, restart your computer to ensure changes take effect.
Remember to regularly check for driver updates. Manufacturers often release new versions to improve performance and compatibility.
Optimizing Display Settings for Performance
Next, optimize your display settings. Right-click on your desktop and select ‘Display settings’ or ‘Screen resolution.’ Set the resolution to match your monitor’s native specs for the clearest image. Then, open your graphics card’s control panel by right-clicking again and looking for your graphics card’s brand name. Here you can adjust settings like color depth and refresh rate. For gamers, head to the ‘3D settings’ section to tweak settings for better performance in games.
Keep in mind, every change can affect how games and applications run. Experiment to find the best balance between quality and performance for your needs.
Testing and Troubleshooting
After installing your new graphics card, the next step is ensuring it works as expected. This phase is crucial for spotting any issues early on.
Verifying Recognition and Functionality in Device Manager
Open ‘Device Manager’ by right-clicking on ‘This PC’ and selecting ‘Manage.’ Look for ‘Display adapters.’ Click on it to see if your new graphics card is listed. If it’s there, it means the system recognizes it. Double-click the card’s name to check its status. If you see ‘This device is working properly,’ you’re all set.
Keep your operating system and drivers up to date to avoid recognition issues. If you face any problems, reinstalling the drivers might help.
Monitoring Performance and Temperature
Use software to check how well your new card performs. Many graphics card manufacturers provide tools for this. These tools often display FPS, temperature, and other vital stats. Keep an eye on the temperature as overheating can cause damage. If it gets too hot, check if the cooling system is working well. Fan issues or dust buildup can lead to overheating.
By carefully monitoring these aspects, you ensure that your upgraded graphics card maintains optimal performance levels and longevity.

Maximizing Graphics Performance
After upgrading your graphics card, it’s time to maximize its performance. This can lead to optimal gaming and editing experiences.
Tinkering with Settings for Optimal Gaming and Editing
Experiment with your graphics settings to find a sweet spot for performance. Start with the in-game settings and adjust for higher FPS or better visuals. Your graphics card’s control panel also offers options; you can tweak digital vibrance for sharper images or adjust anti-aliasing for smoother edges. For video editing, ensure your software uses the new graphics card to its full potential by checking its settings.
Tips for Long-Term Graphics Card Maintenance
To keep your graphics card in top shape, follow these tips:
- Regularly clean your PC to prevent dust buildup, which can overheat components.
- Make sure fans or cooling systems are working correctly; they’re key to preventing thermal throttling.
- Update your graphics card drivers as new ones roll out to maintain compatibility and performance.
- Monitor your card’s temperature using software tools; high temps may indicate it’s time to clean or improve cooling. Keep the temperature in check to avoid damage.
- Manage the card’s workload; running high-end games at max settings all the time can wear it down faster.
By following these guidelines and making adjustments when necessary, you can enjoy an enhanced computing experience with your newly upgraded graphics card.


